How to Reduce Interference On A Sennheiser Lav
Learn how to choose the cleanest frequencies to reduce the impact interference on your audio recordings.
Jamie Harris
Updated 20 Apr 2022
·
3 min read
When you’re using a wireless microphone it’s very important to scan the radio frequencies at your location before you start recording. You want to do this to ensure you don't get interference from other radio equipment.
It’s very simple to scan the frequency range on the Sennheiser G3 and G4 lavs as they will show you the least congested frequencies to use on location to give you the best chance of clean audio.
We've made a quick video to run you through the steps, or you can read the step by step guide with photos below the video if that's more your thing.
On your receiver, open up the front cover and turn it on by pressing the ON/OFF button.
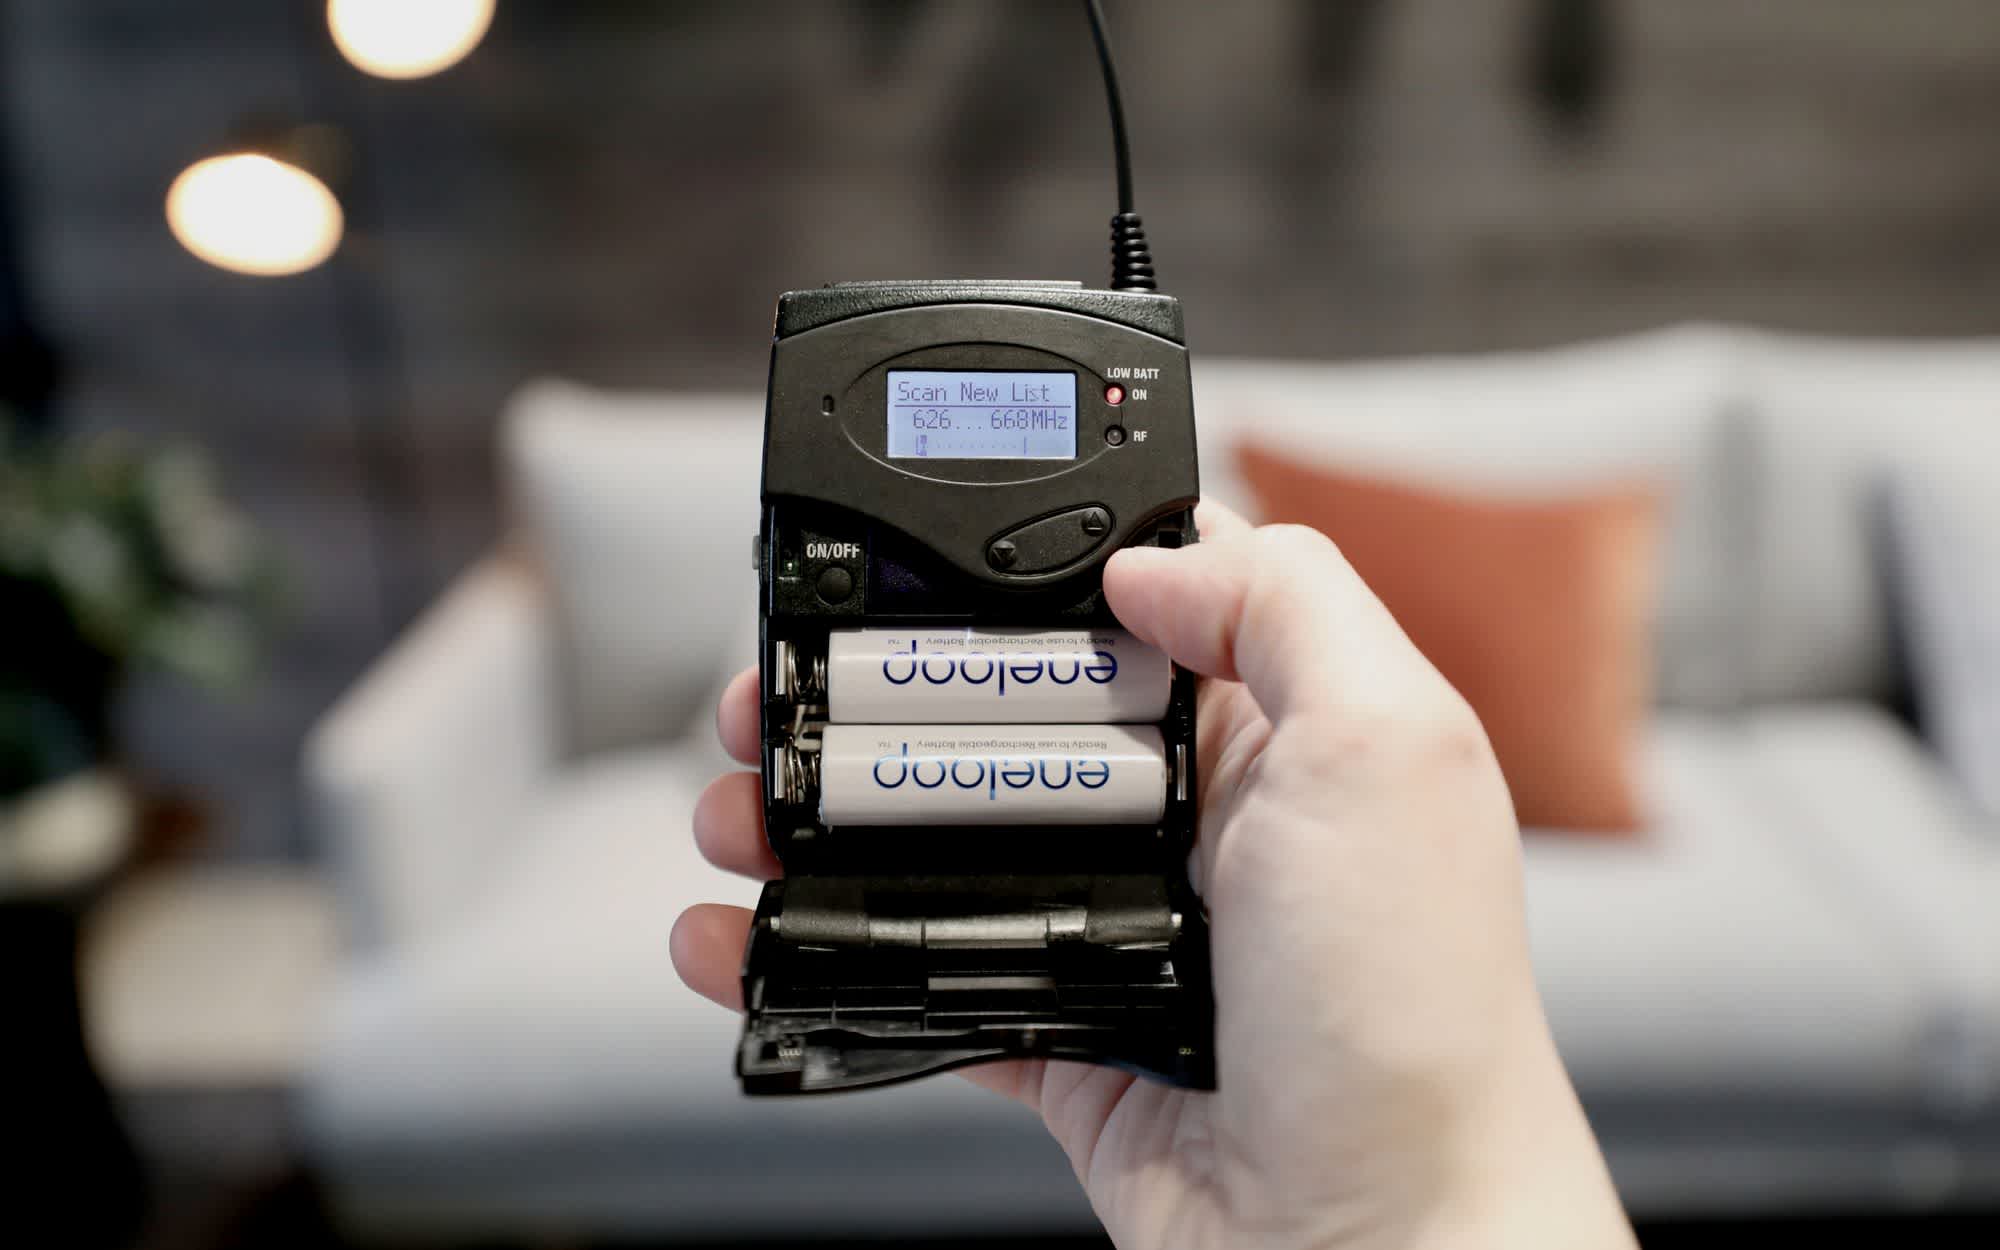
Access the menu by pressing SET and then using the up and down arrows to navigate to Easy Setup.
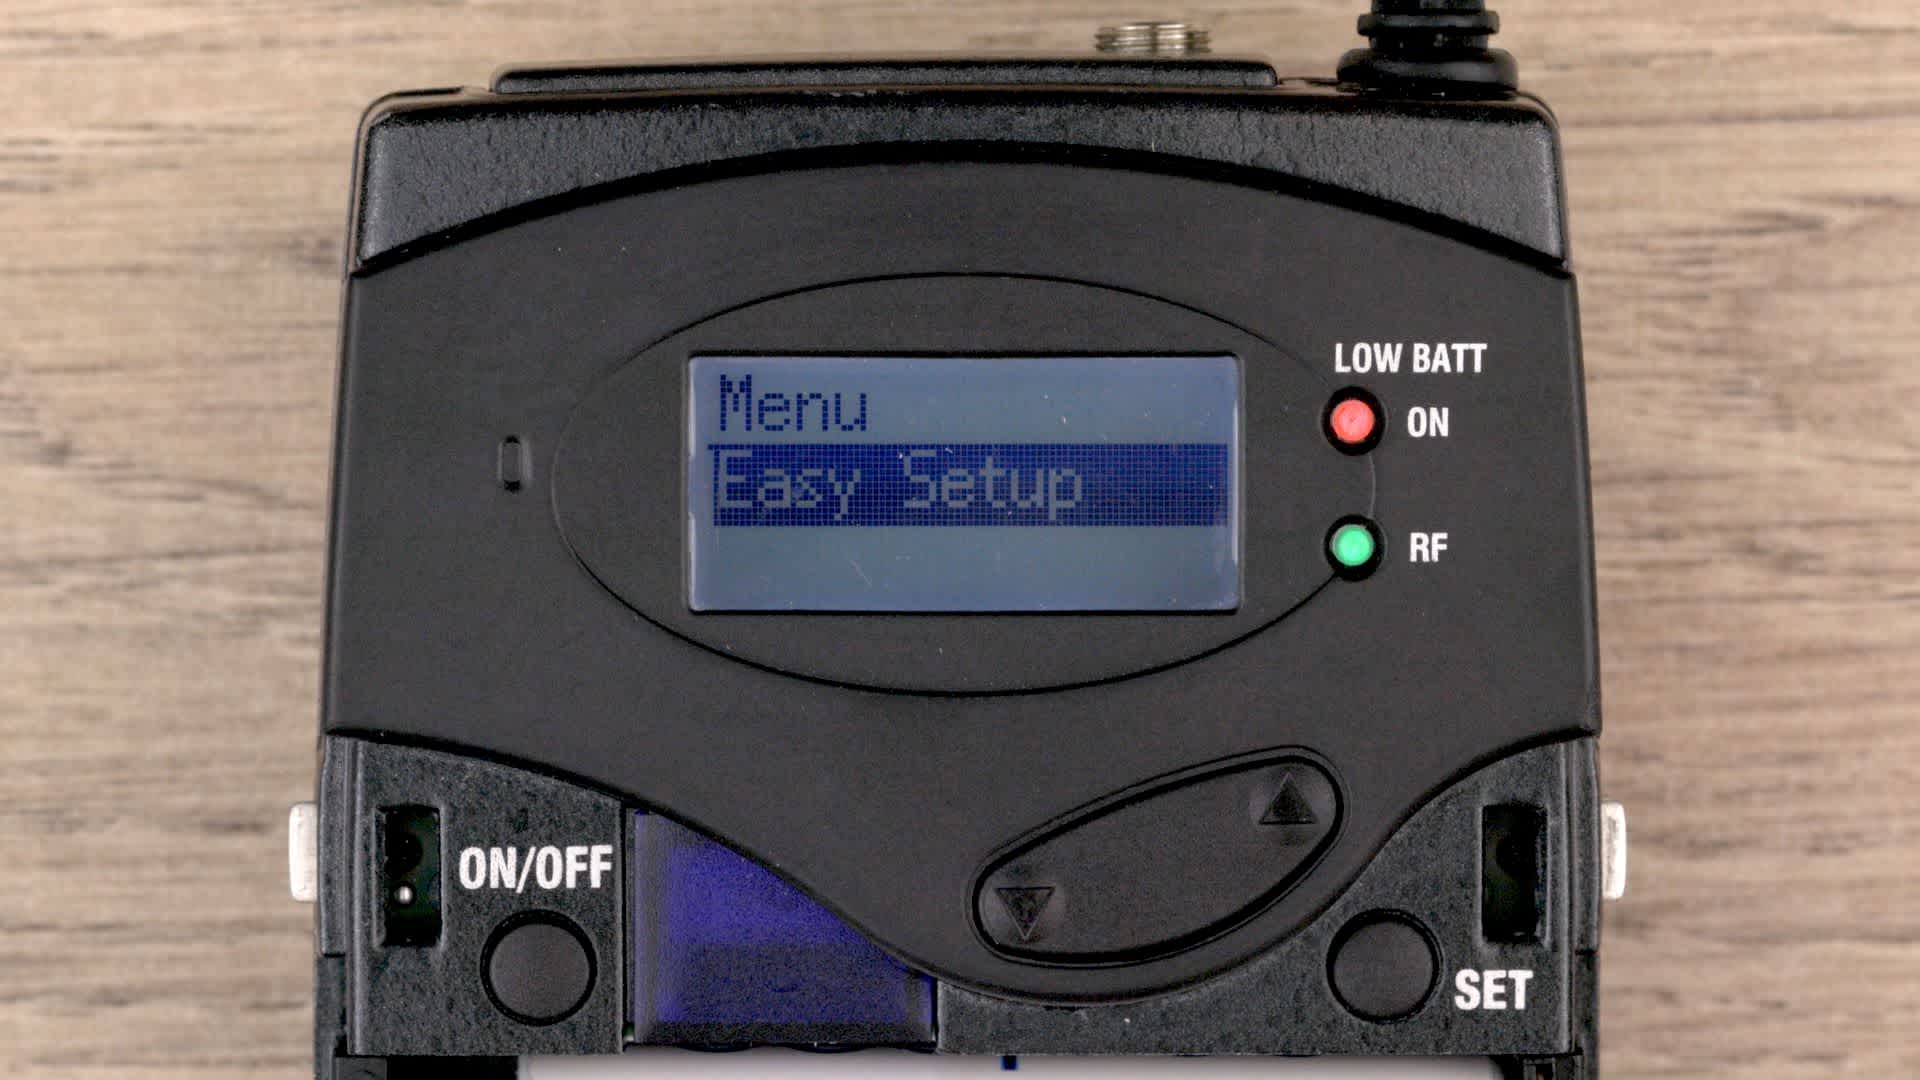
Select the Easy Setup option by pressing SET and then navigate to Scan New List.
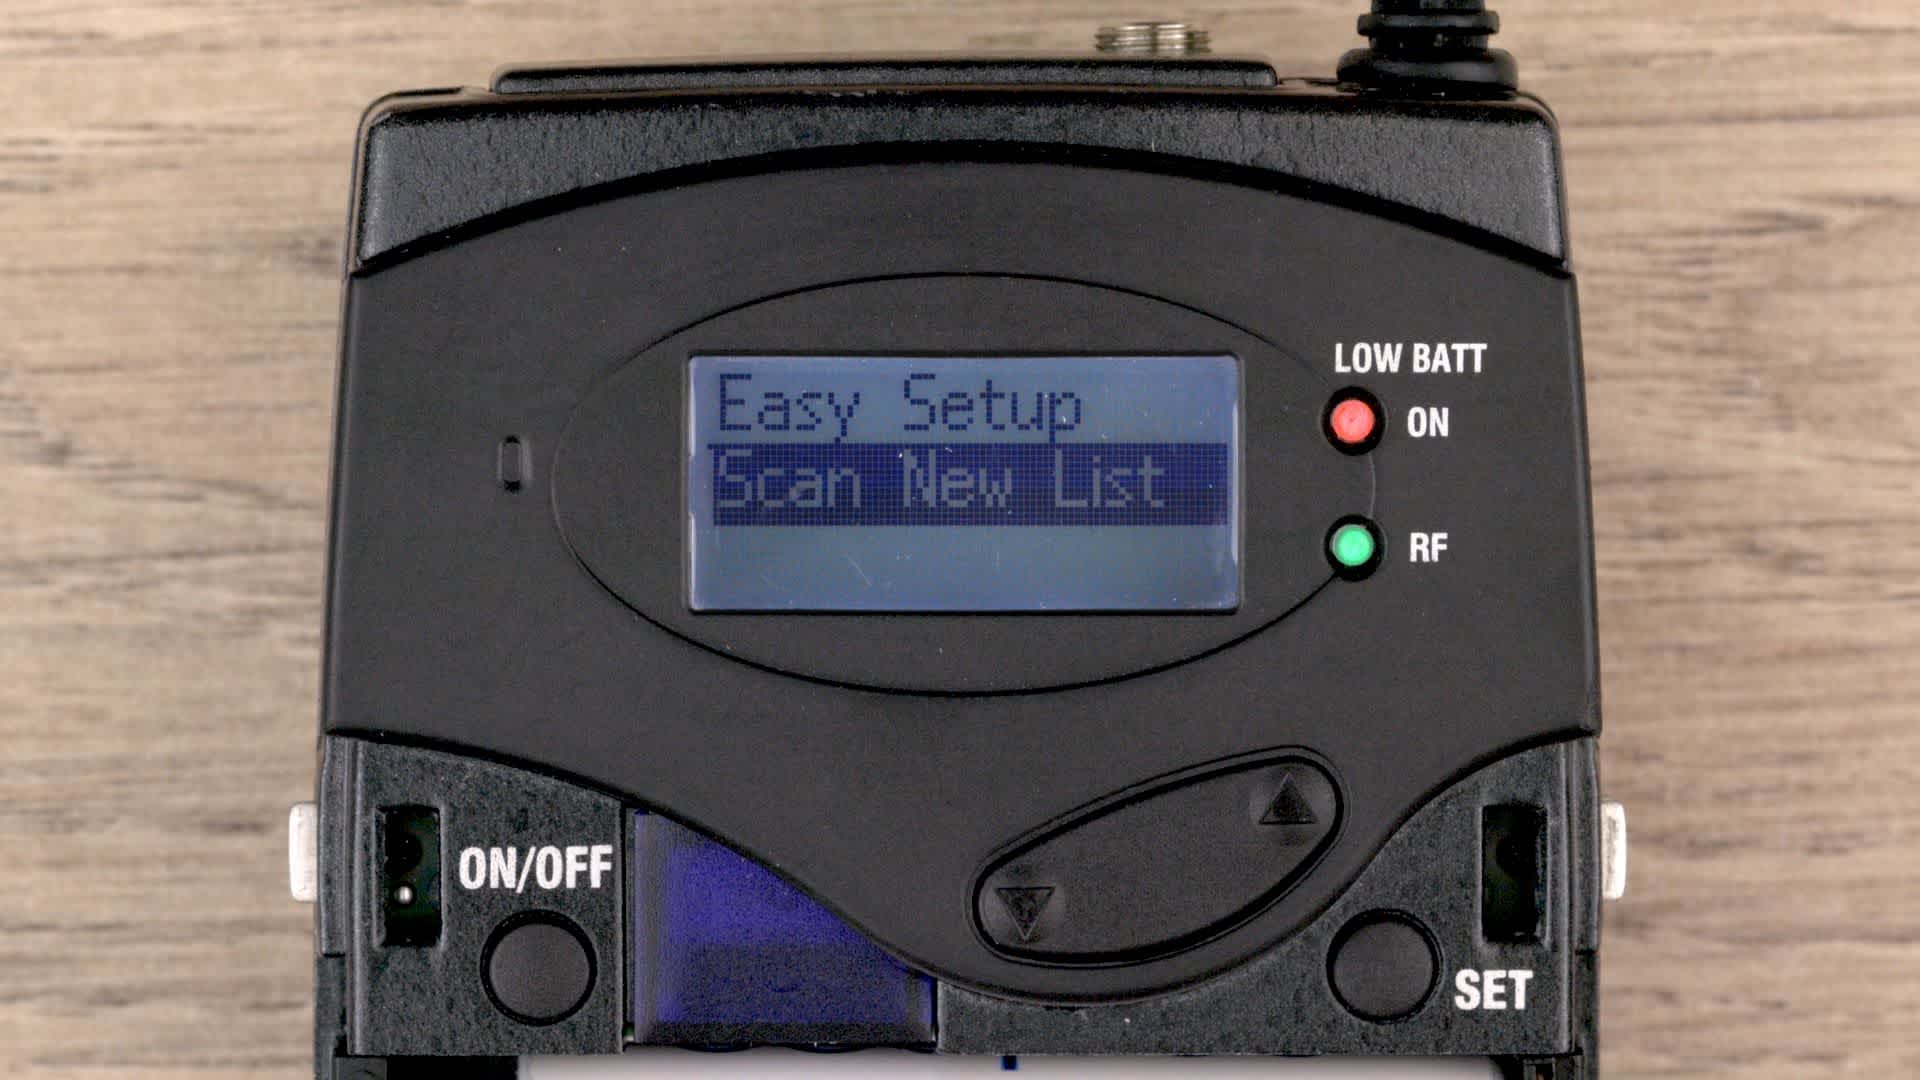
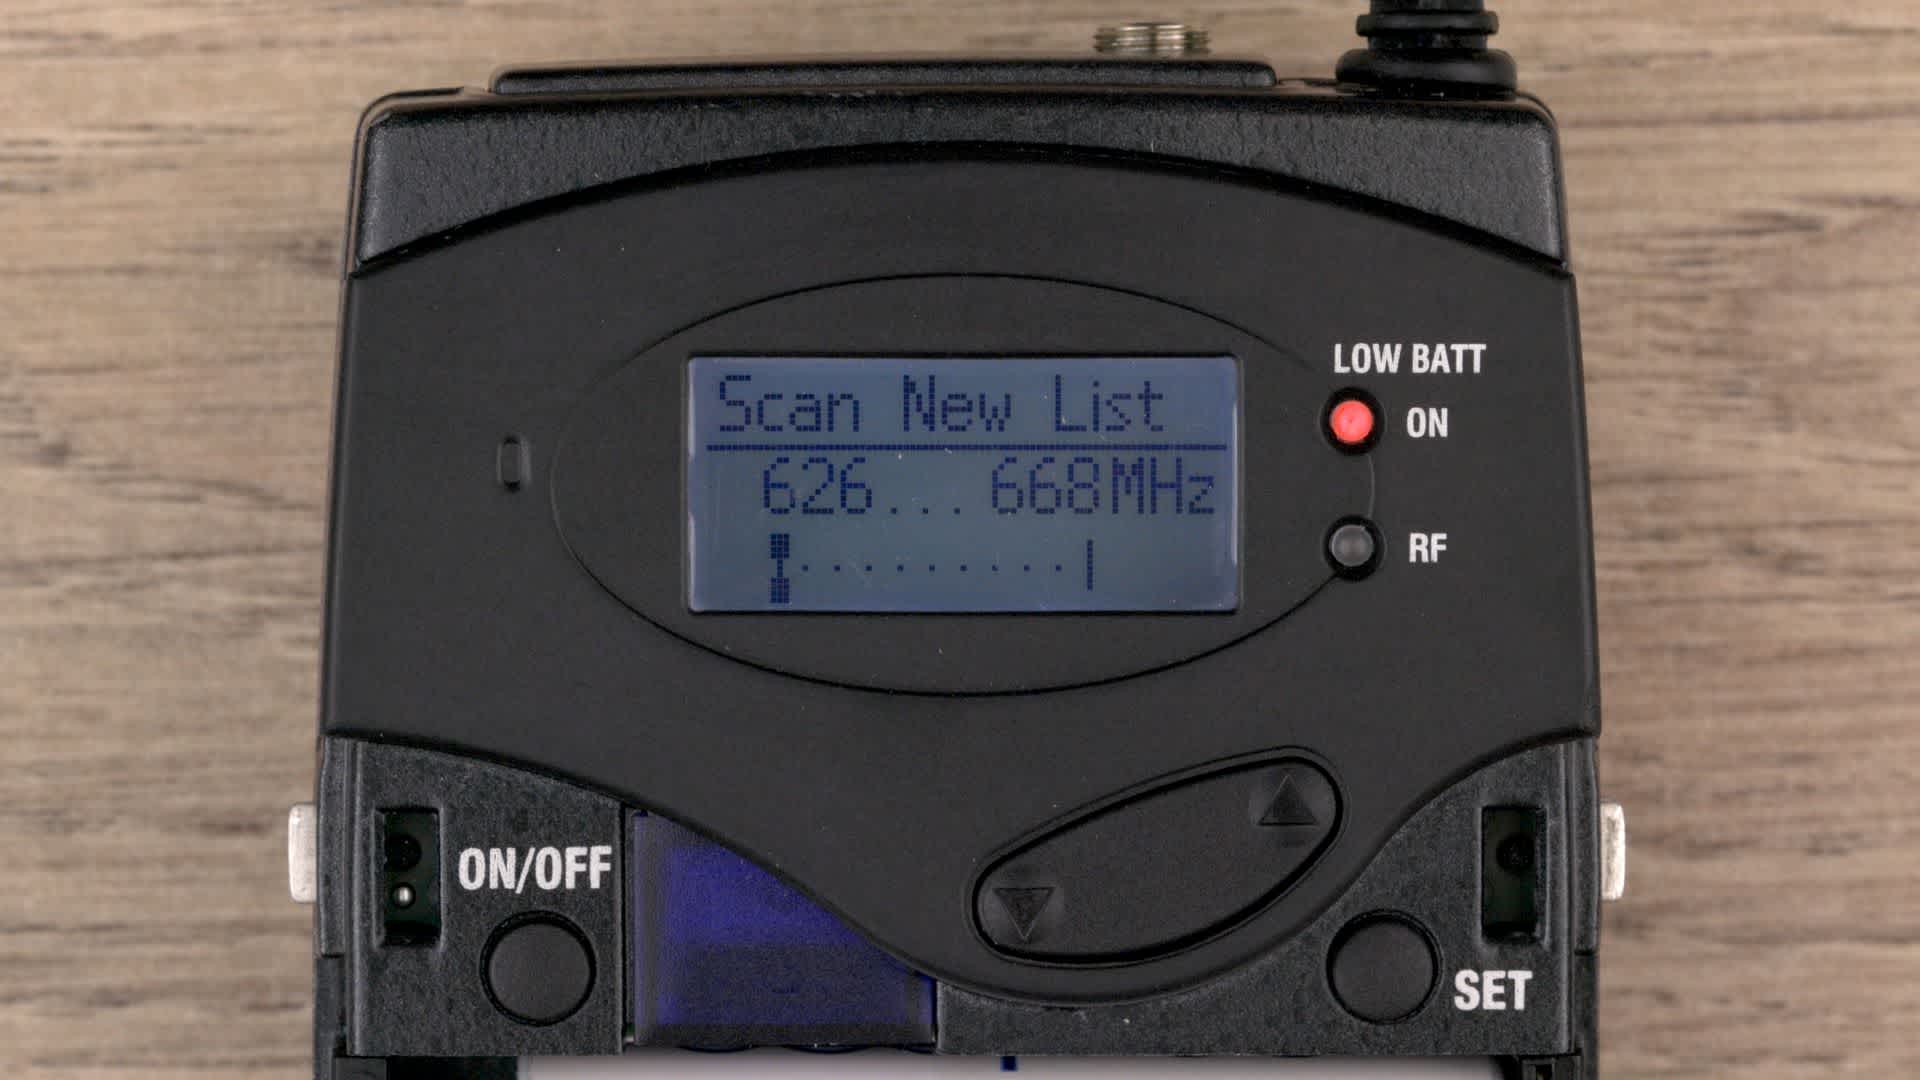
This will start a scan of the frequencies in the area to find which frequency has the least interference from other wireless radio signals.
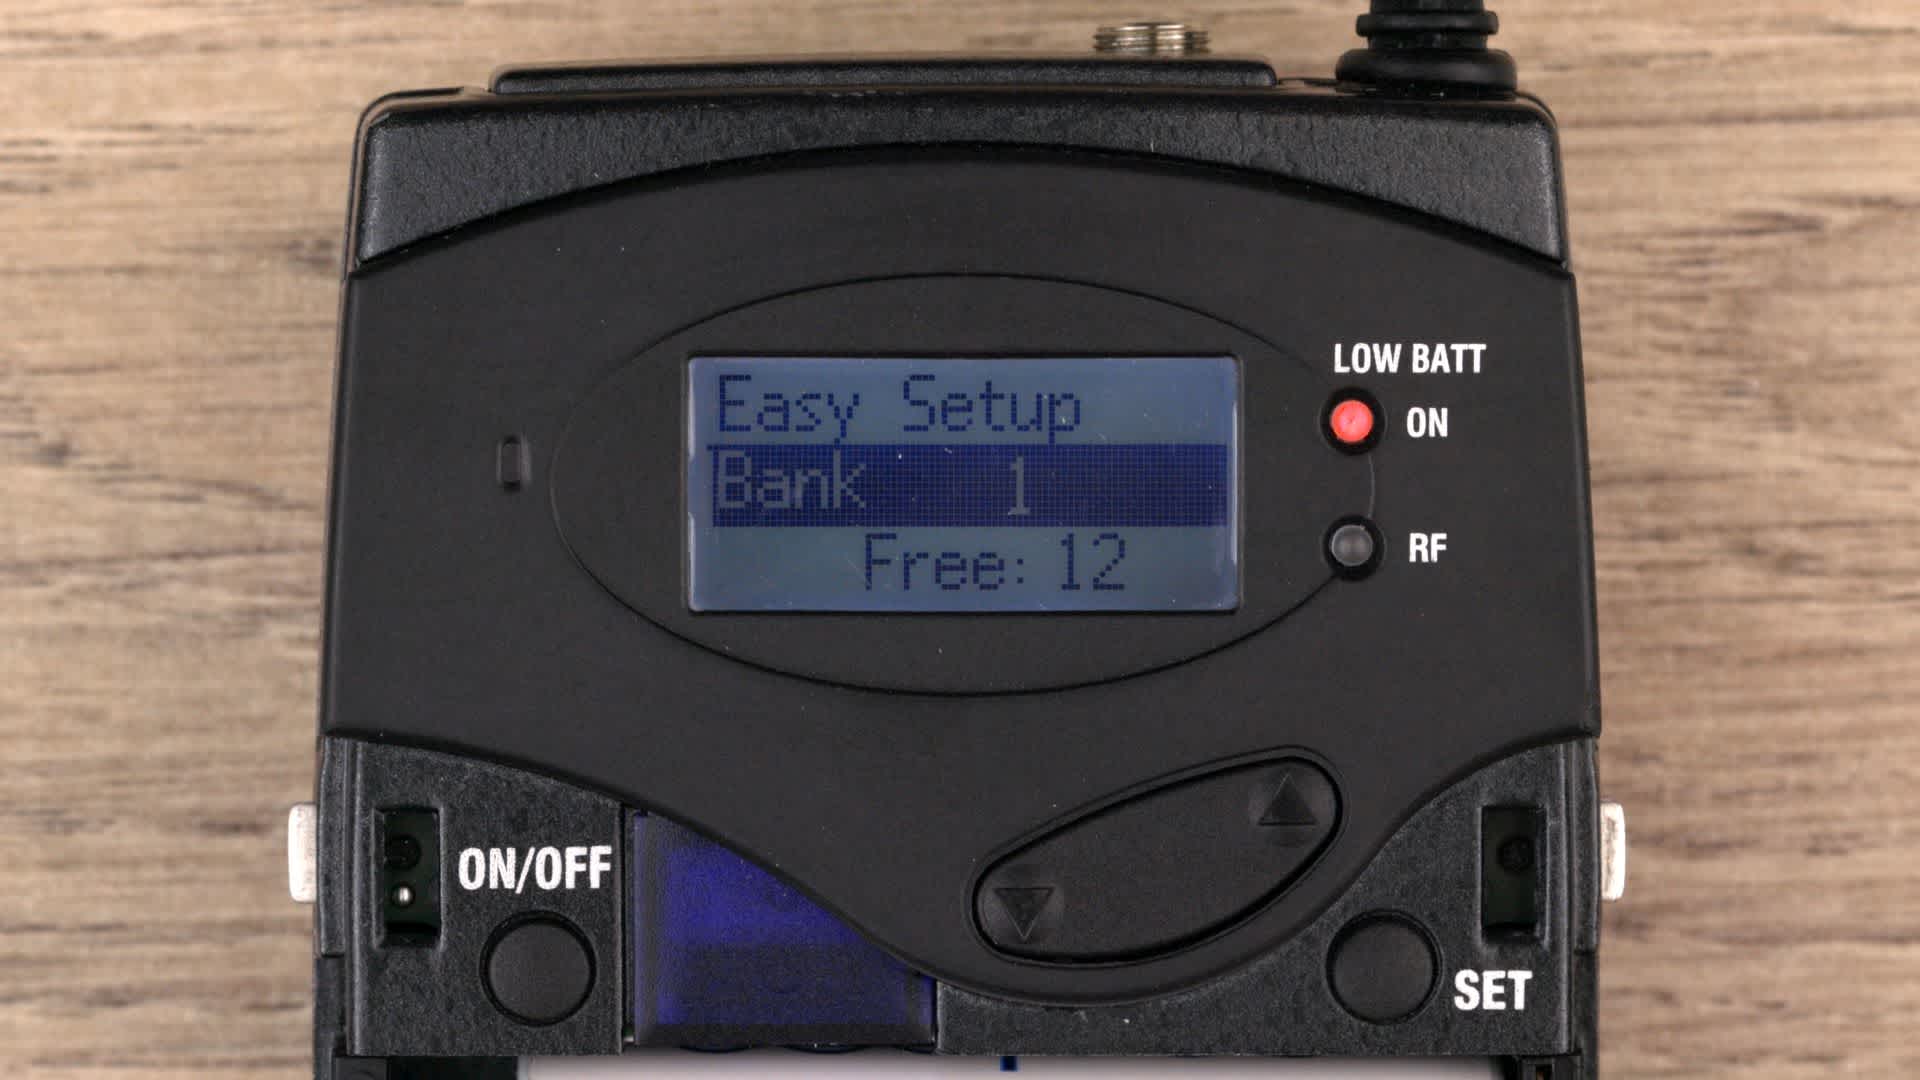
Once the scan is complete the receiver will display the best “bank” which is a small block of frequencies and it will also display how many frequencies or “channels” are available inside that bank. Use the up and down buttons to select your channel then press SET to select it.
Now that the receiver is tuned to the best frequency, you need to sync it with the transmitter. To do this, navigate to Sync in the menu.
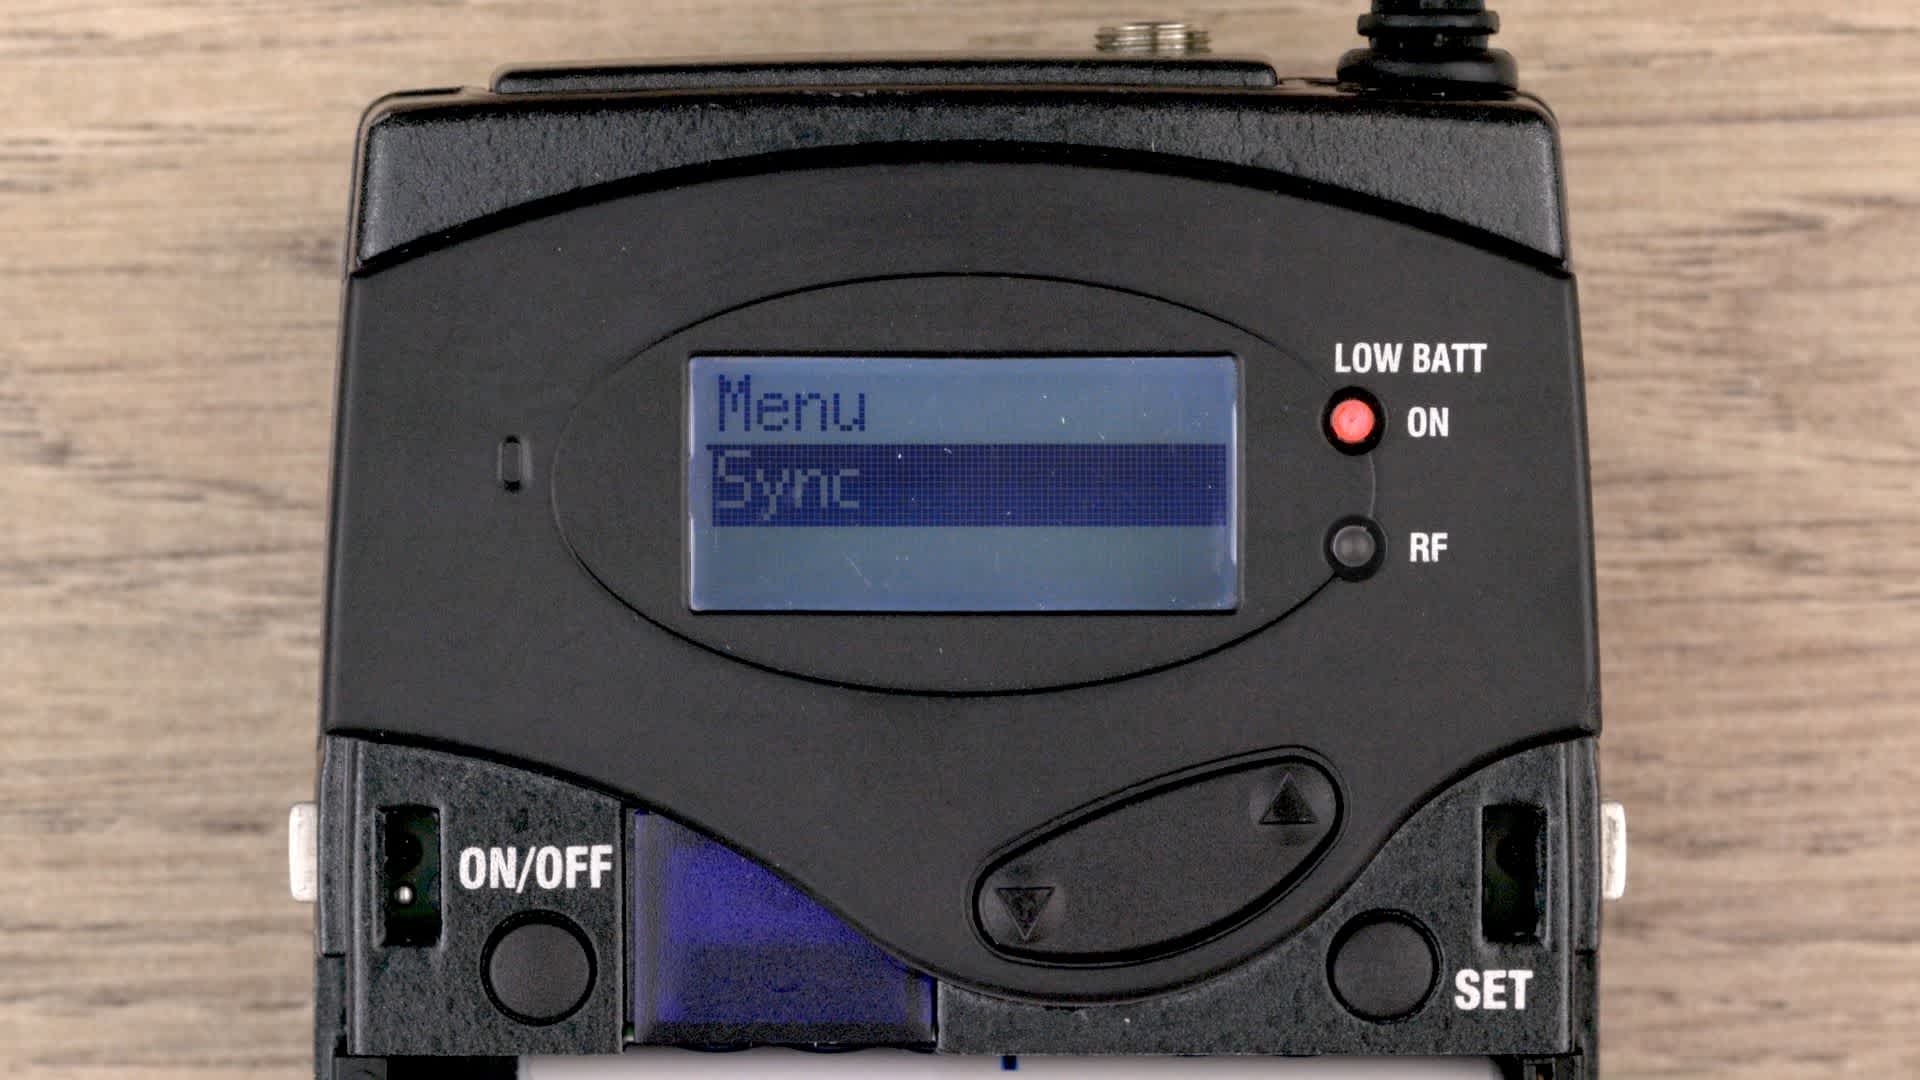
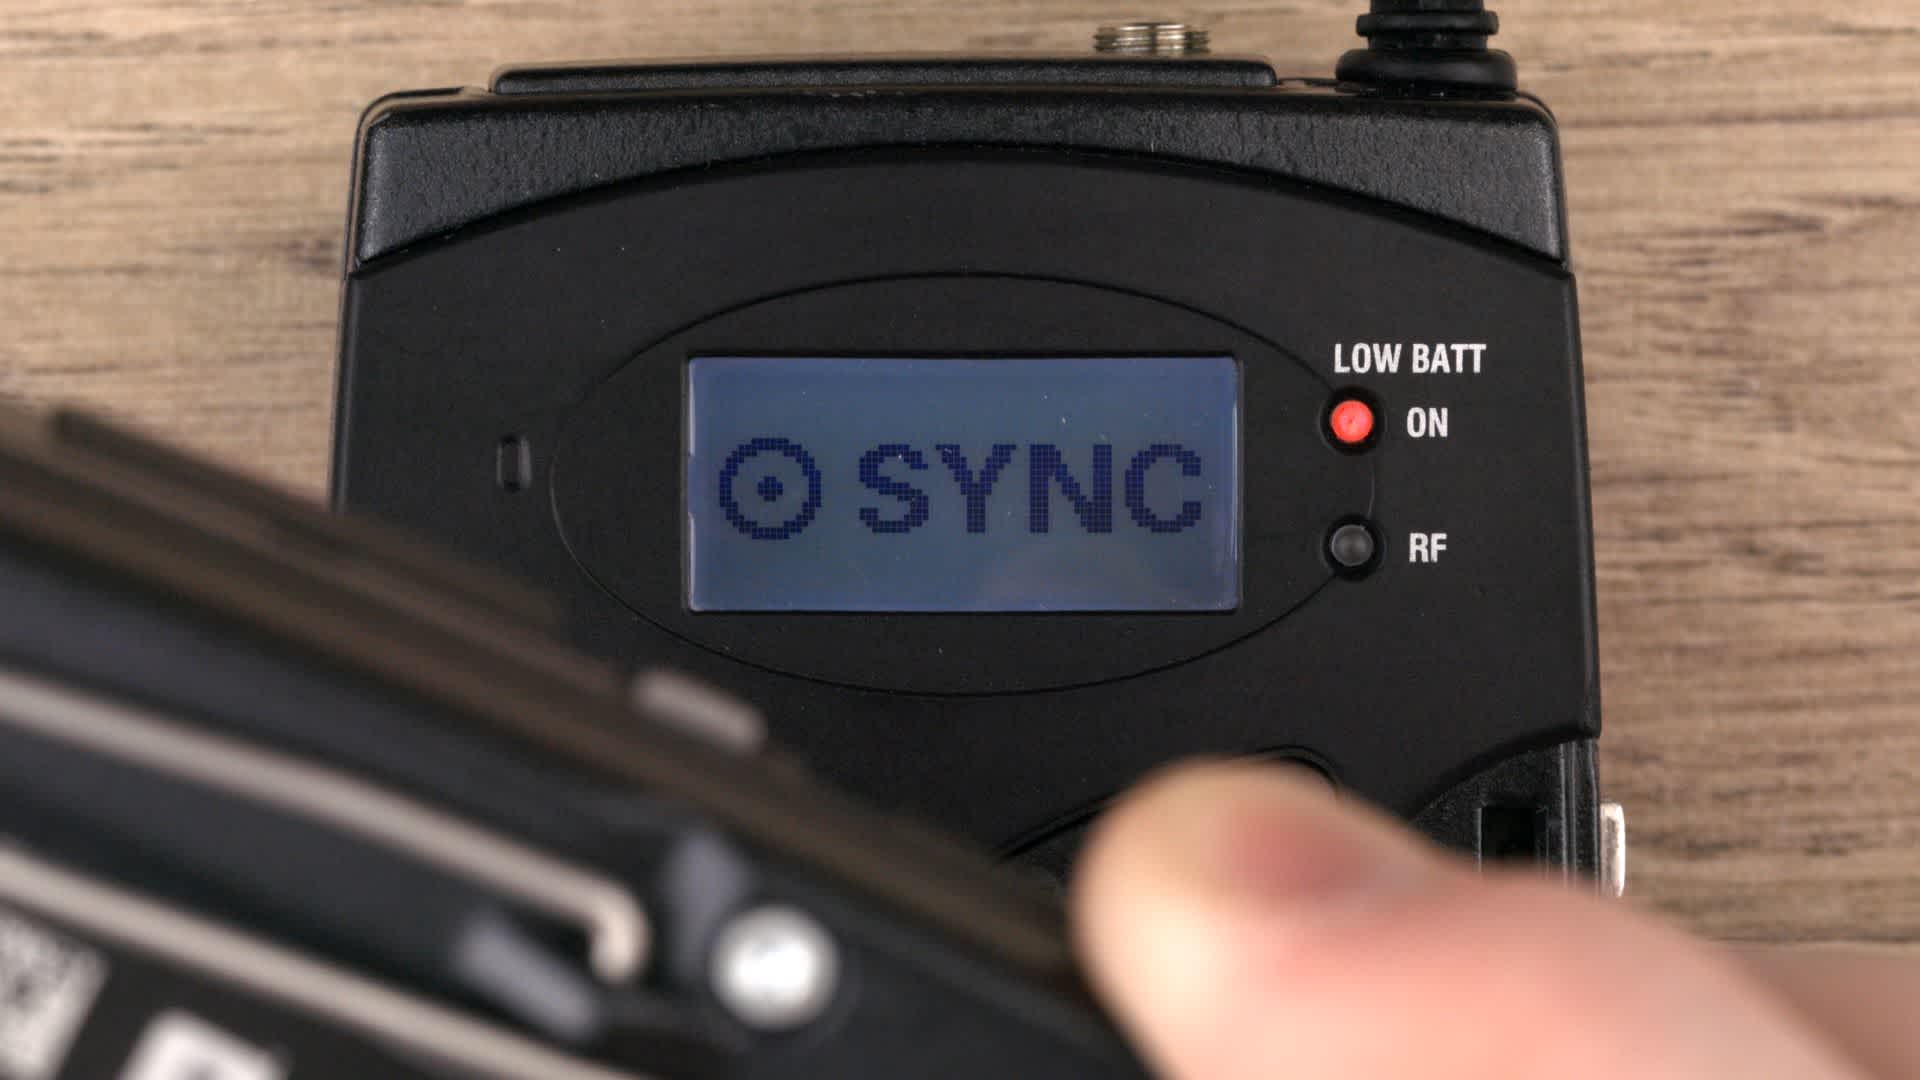
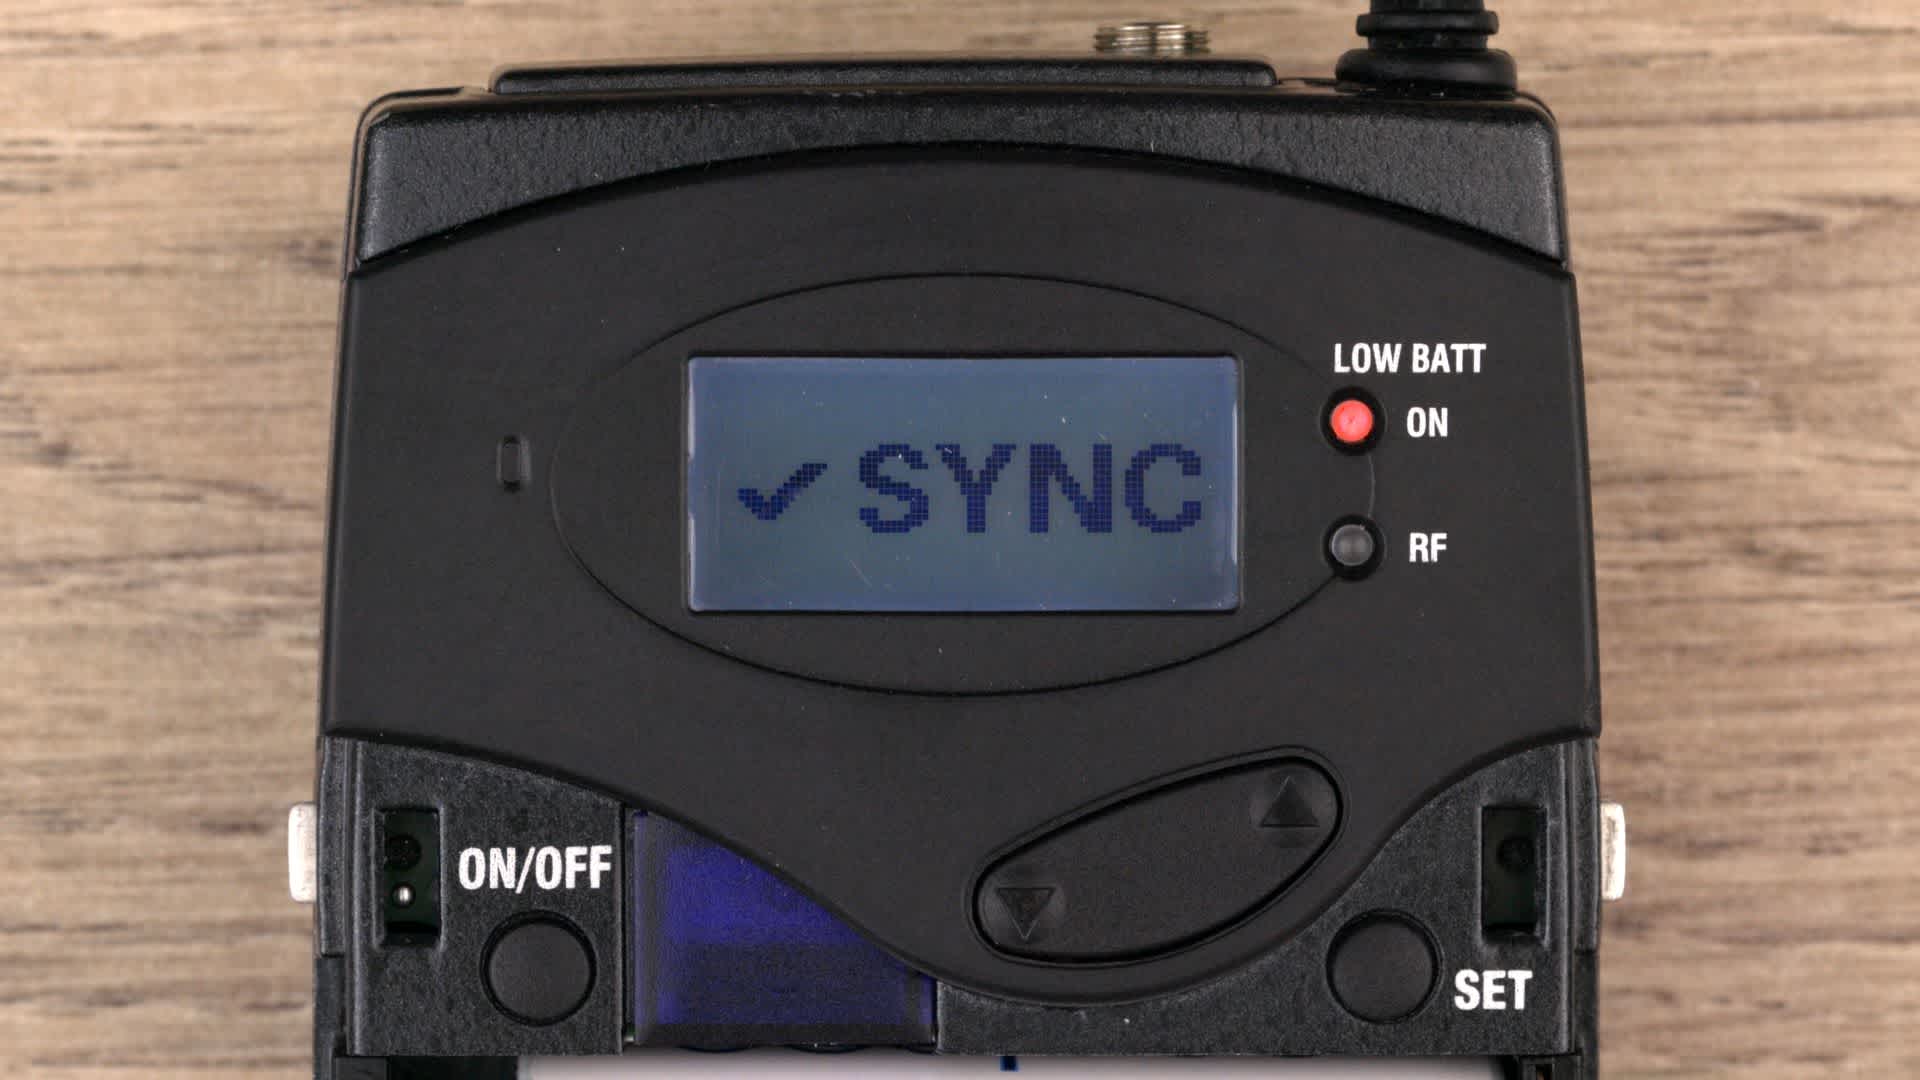
Turn the transmitter on and hold it face to face with the receiver. The transmitter will automatically sync with the receiver. Once the sync is complete it will display a check mark.
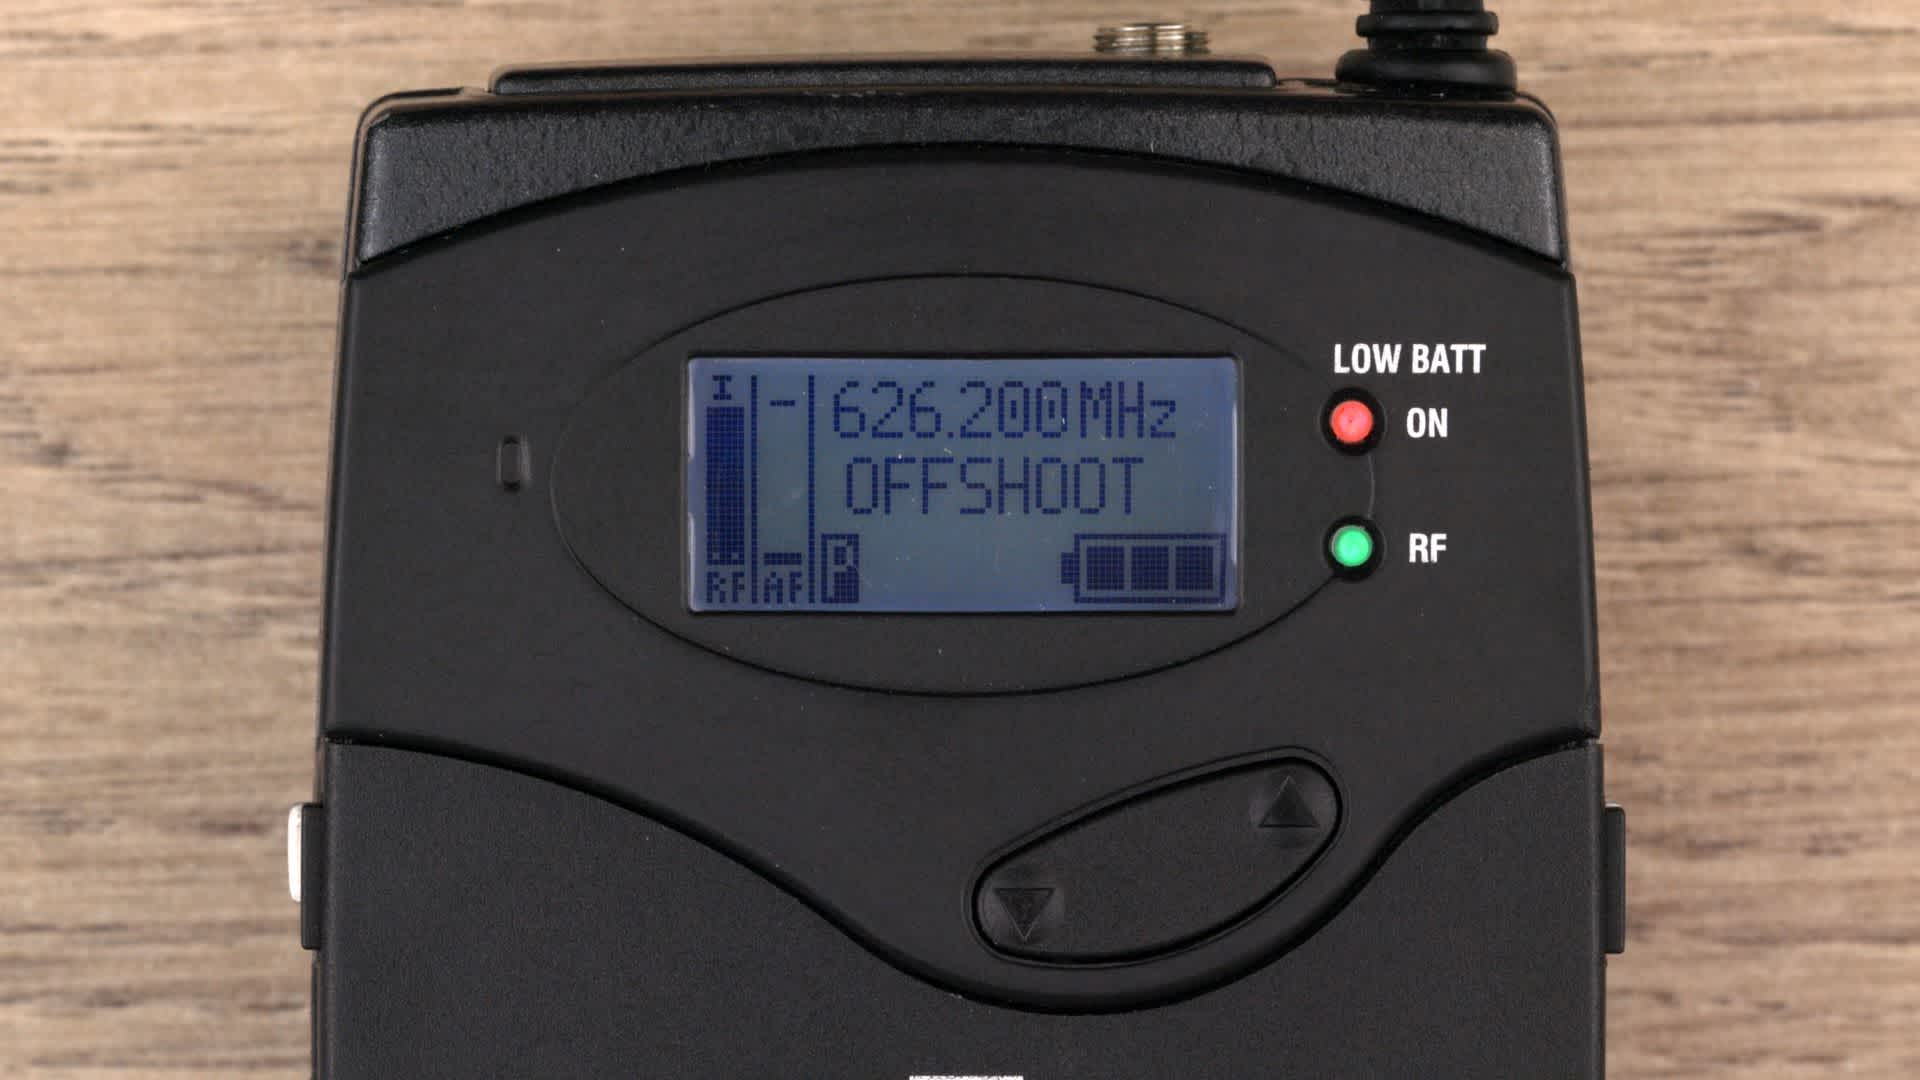
To verify that they have synchronised, check that the green RF light on the receiver has turned on.
Hopefully you now feel comfortable doing a frequency scan at your location. Your audio quality will be all the better for it!
