Why Doesn’t My Audio Sound Very Good? 5 Tips To Record Better Audio
We share five simple ways to record better audio that sounds professional, even on time-critical and small crew shoots.
Jamie Harris
Updated 13 Oct 2022
·
5 min read
It's a sad reality that bad audio can let down even the most amazing-looking video. If I come across a video on YouTube with crackling audio and clipping, I will quickly skip to the next one, even if the information is otherwise good!
Luckily there are a few easy things you can do to improve your audio quality.
1) Monitor Your Audio
This may seem like an obvious one but it's really important. Listening to your audio through headphones while setting up your recording equipment will give you immediate feedback on the quality of your audio.
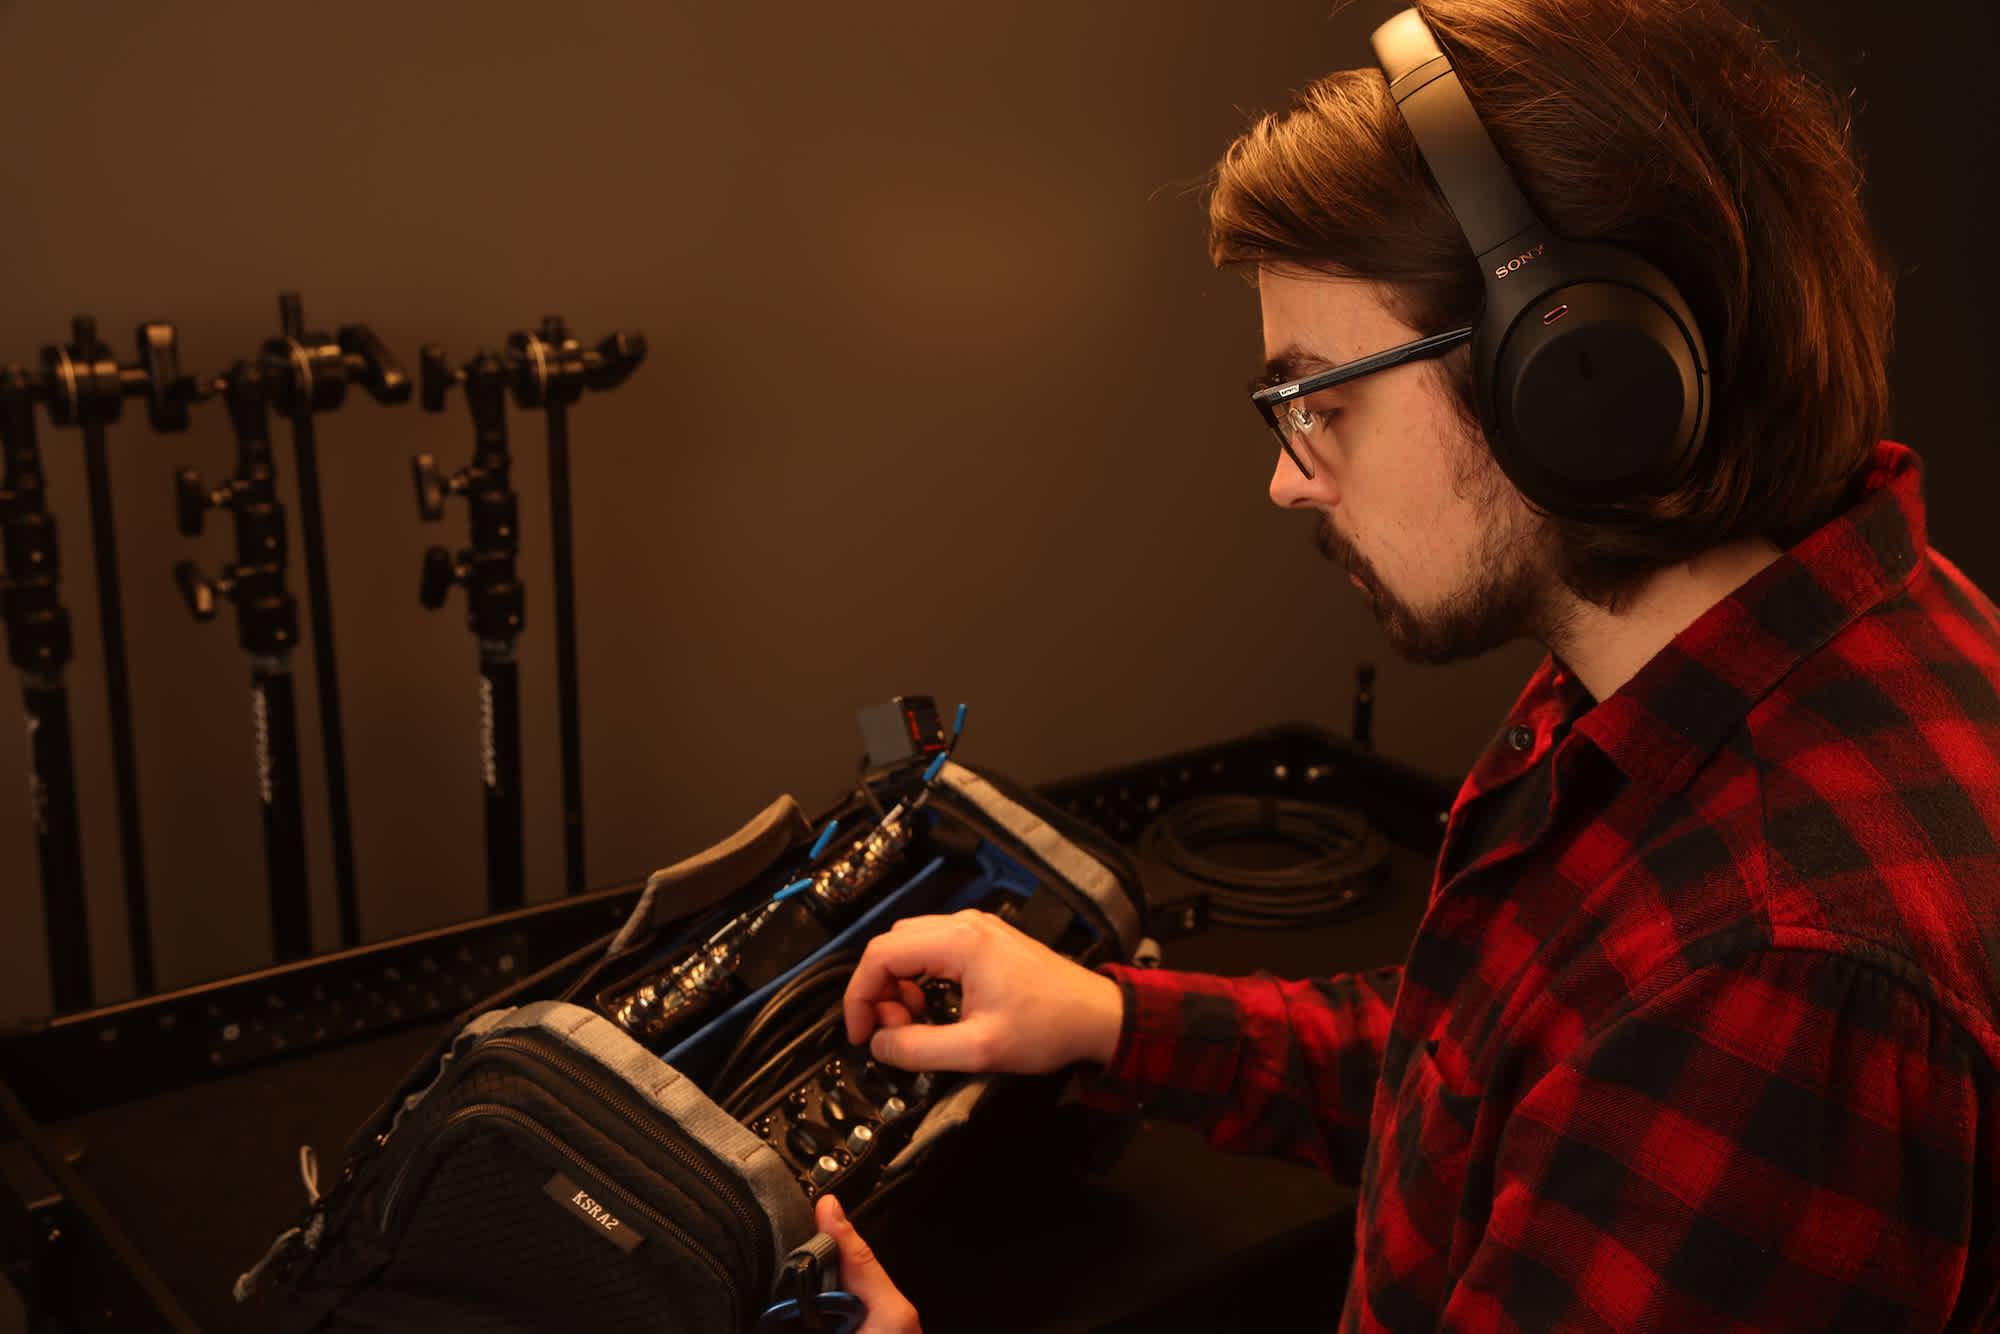
For example, if your audio is crackling, you may have a bad cable. Or if your sound is clipping with loud sound then you probably need to relocate your microphone further away from the source or lower your recorder's gain setting.
One of the most common problems is simply that the microphone is too far away from the subject, resulting in a recording that sounds amateur because it's distant.
These are all easy things to fix if you simply monitor your audio during set up.
2) Use The Correct Microphone
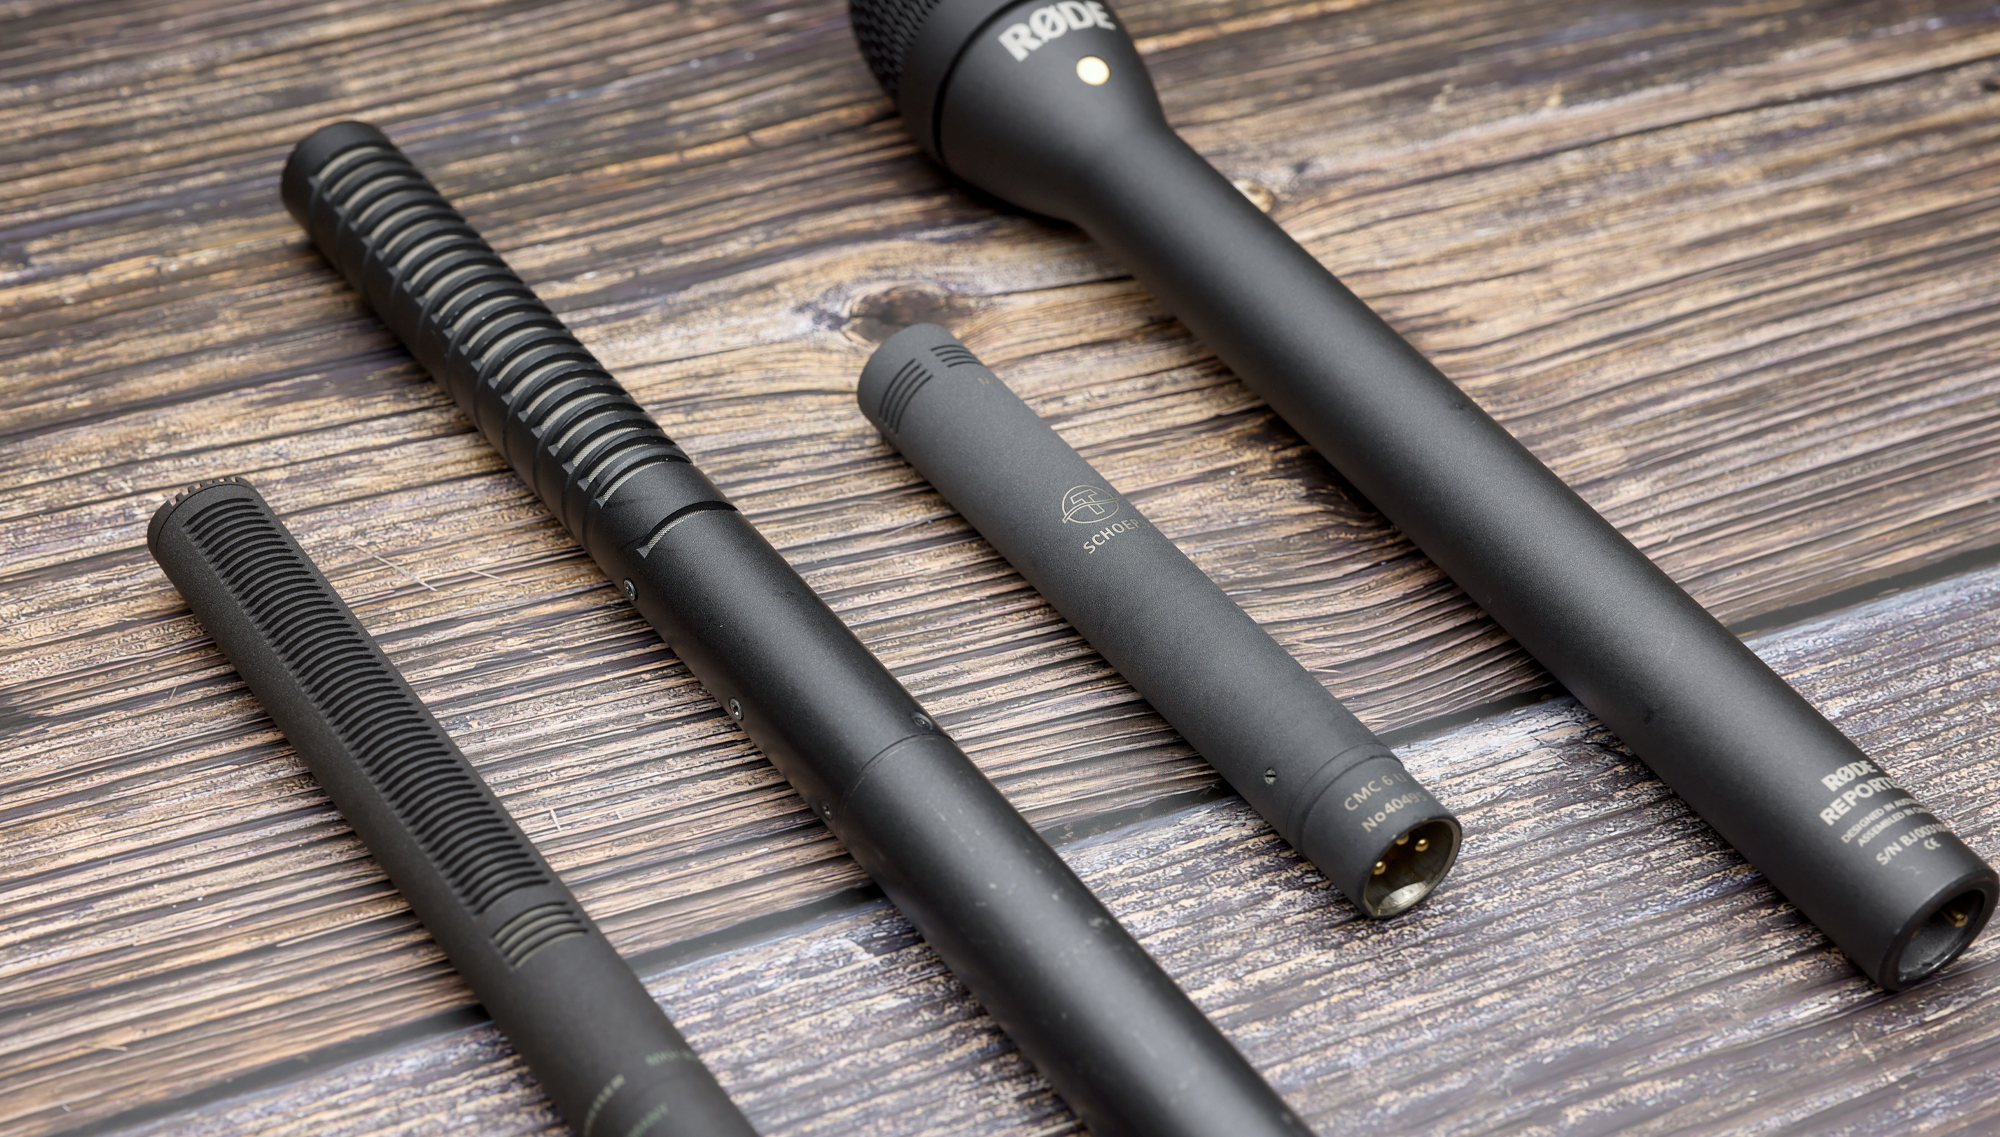
There are many excellent microphones out there, but if you aren't using the right tool for the job then you won't be getting the most out of your audio.
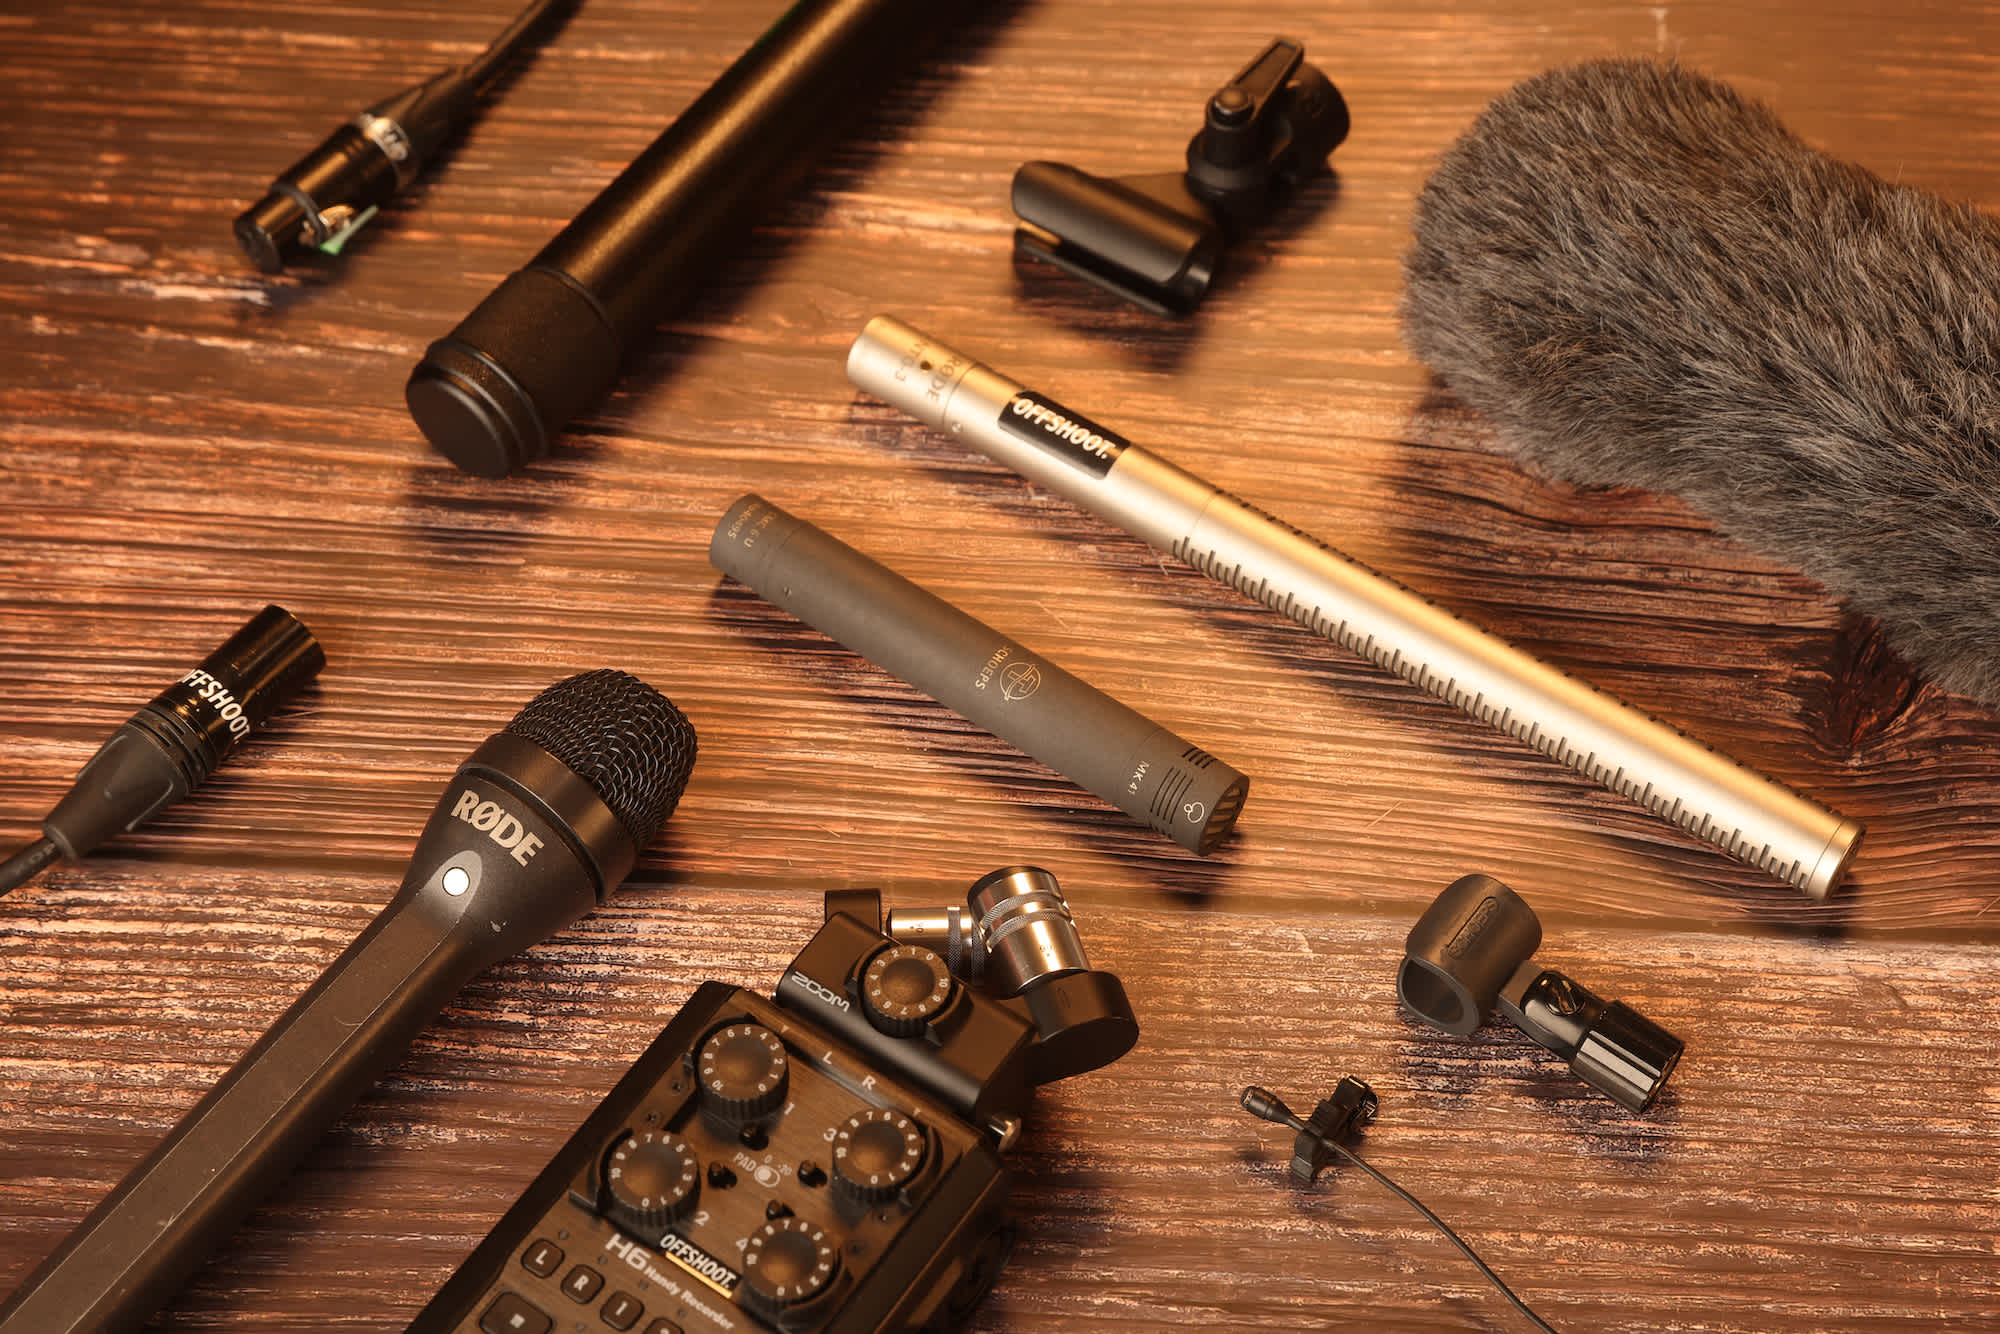
Choosing the correct microphone can be a daunting task and is outside the scope of this article, but don't stress, we have written an in-depth guide for choosing the right microphone.
3) Use Good Quality Cables
A cable can make or break your audio quality. We always recommend using high-quality cables from a reputable manufacturer. There are two key things to look for in a good quality cable:
Plugs
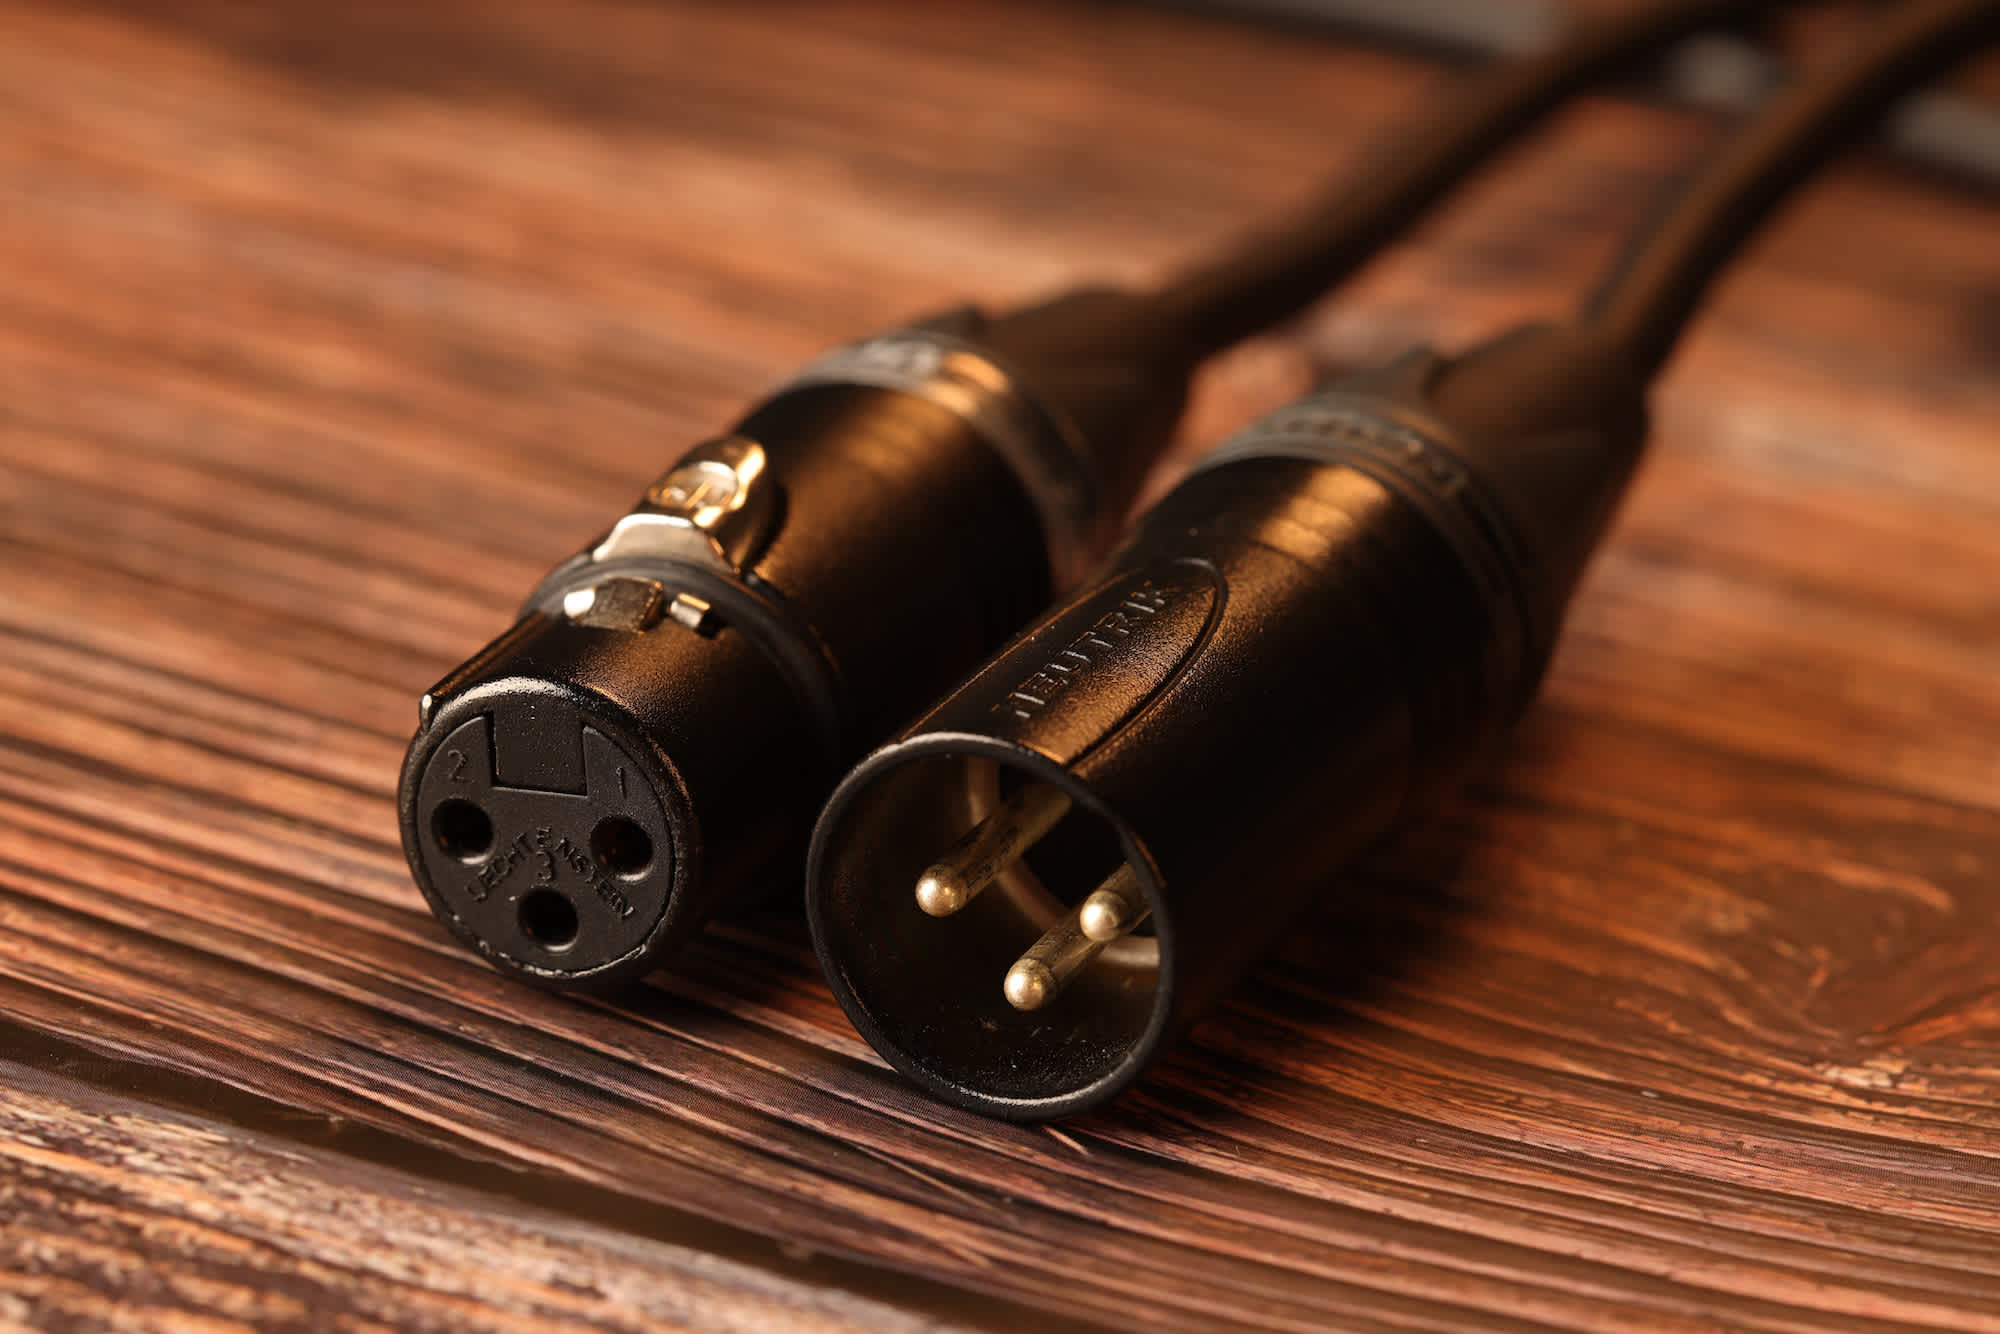
Always look for high-quality plugs from companies like Neutrik or Amphenol. Cheap plugs can give poor connections which can lead to crackly audio, intermittent dropouts or signal noise.
Cable
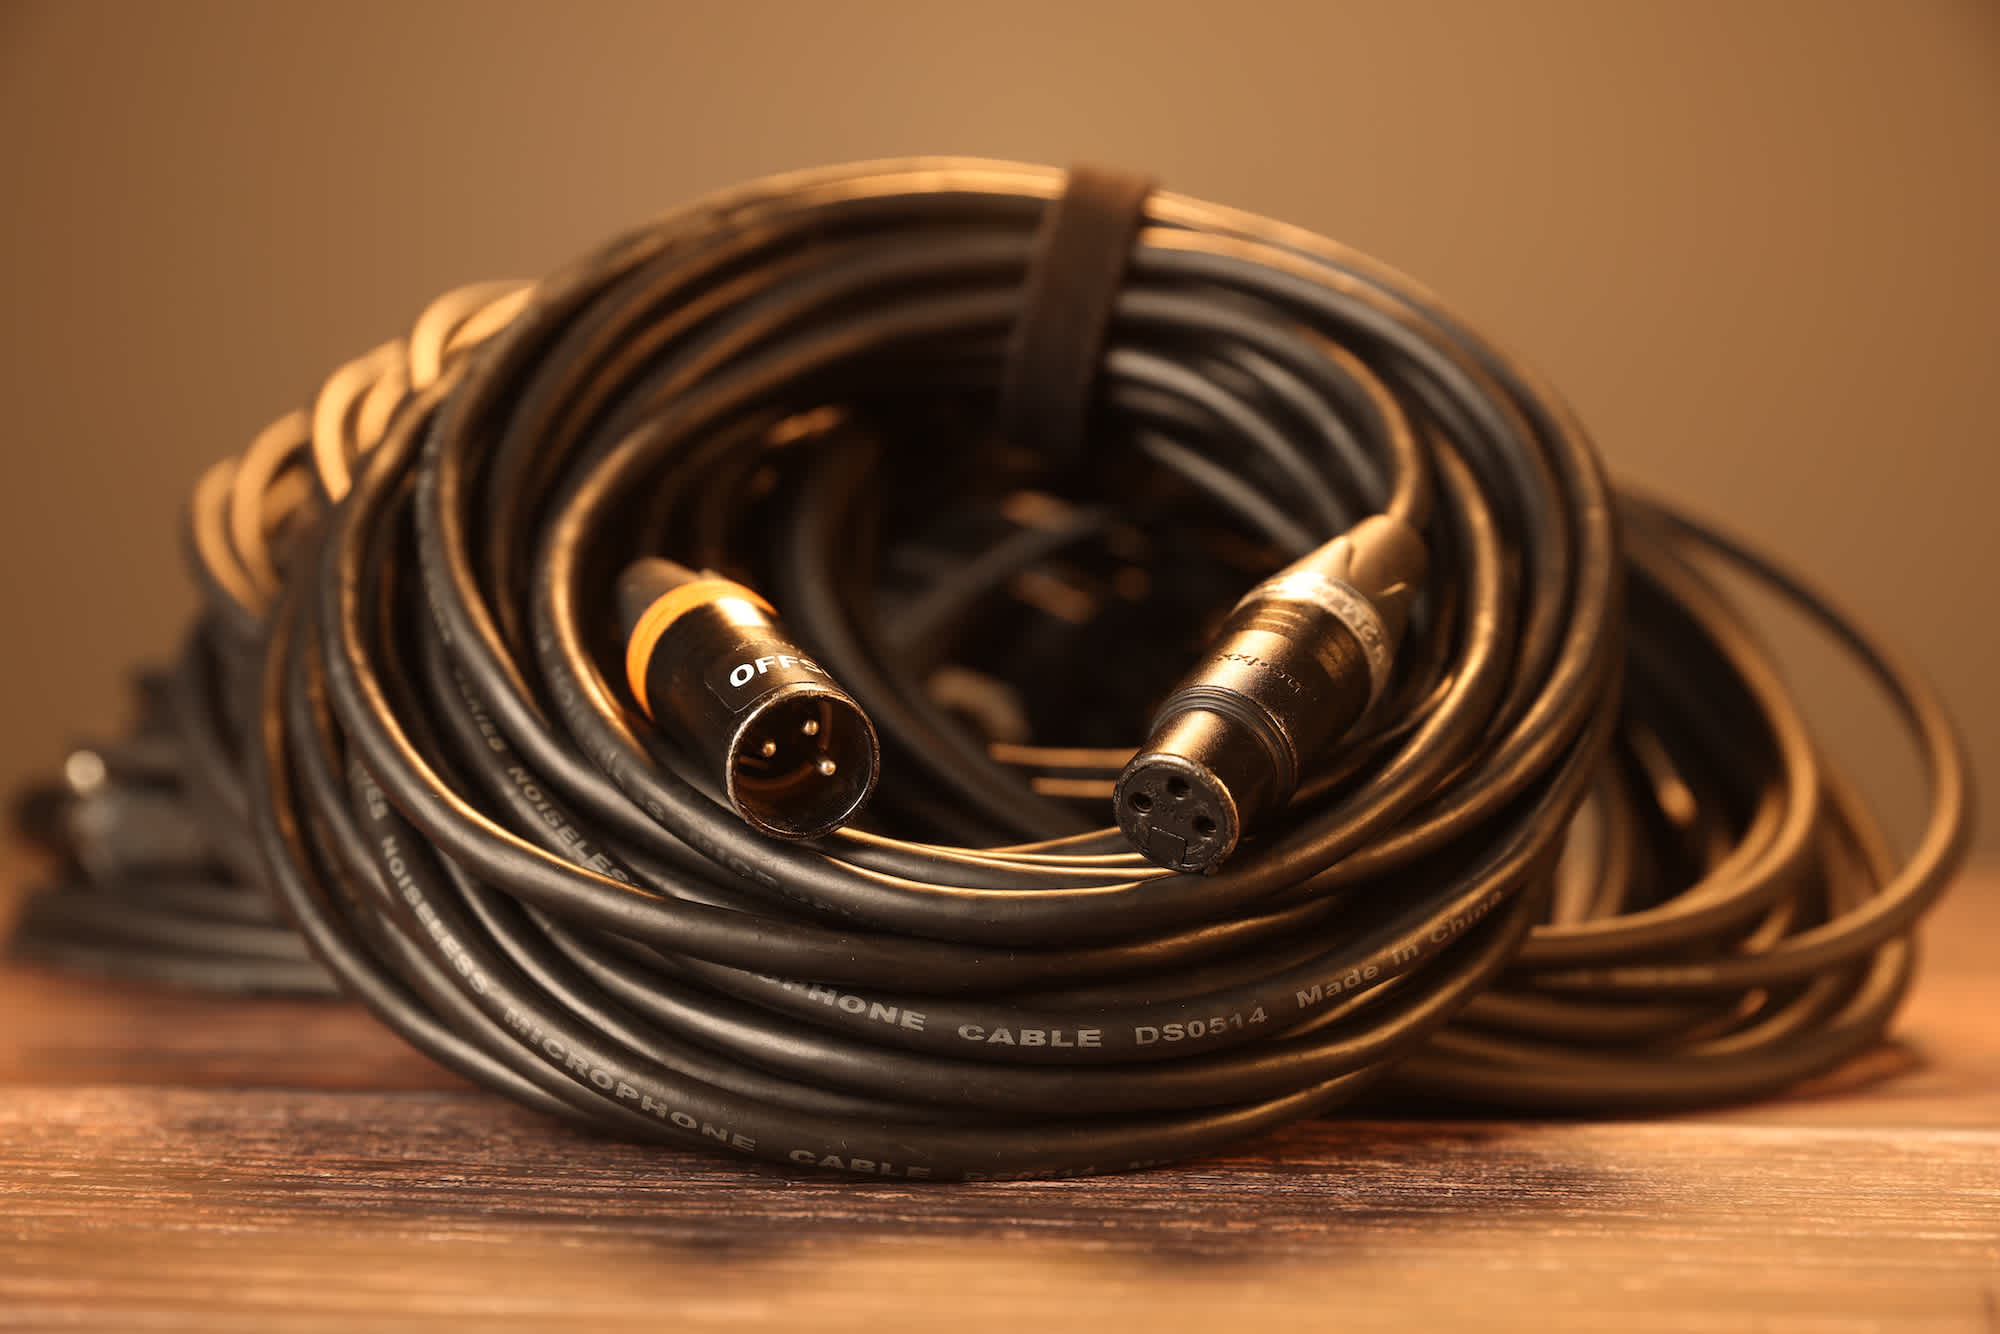
A high-quality audio cable will have a metal mesh on the inside of the cable called a shield that will reduce any rogue electrical signals from entering the cable that result in signal noise. Higher quality cables will also be more durable, meaning it's less likely the internal wires will break after multiple uses.
4) Set Your Recording Levels Manually
Some audio recorders will give you the option to adjust the recording level (also known as gain) automatically or manually. Setting this to auto is convenient but it has several downsides.
One of these is that automatic level adjustment has a delay and this can cause issues if a sudden loud noise happens or there is a rapid transition from loud to quiet. Auto can also mean the ambient background noises are recorded at a much louder volume than is ideal, making your life difficult when it comes to post production.
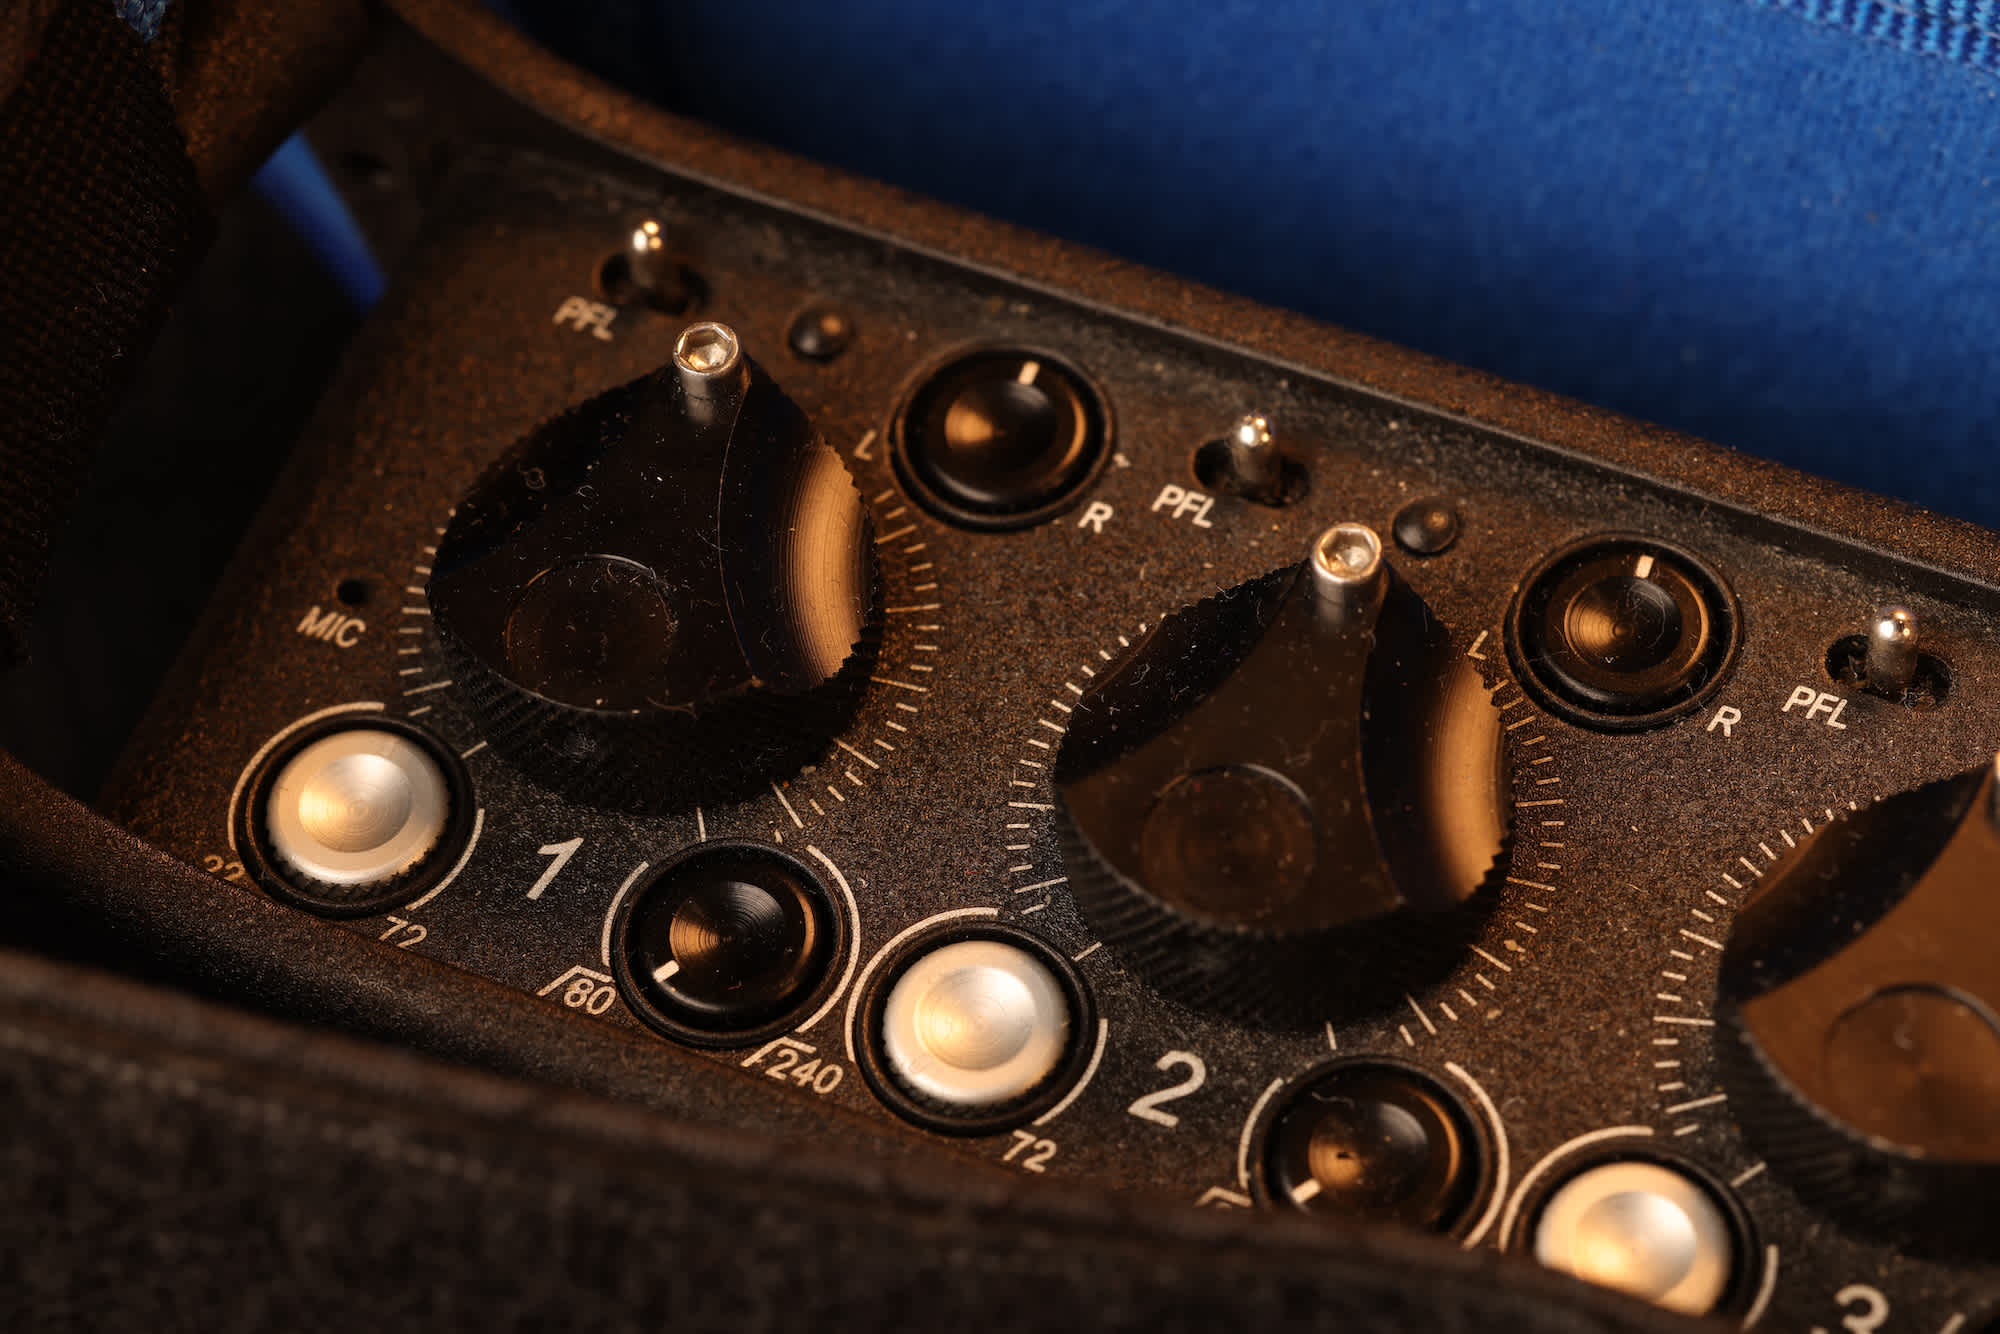
It's best practice to set your levels manually. All recording devices give you a visual indicator of how loud your audio level is. This is shown as a meter with a bar that gets higher the louder the sound is. The meter will also be broken up into coloured sections: green is quiet, yellow is getting louder and red is too loud.
You generally want to set your level so that the loudest sound you might be recording sits in the yellow zone. If you are in the red zone the level is too high and will distort.
You also don't want to set your level too low. If the level is too low you won't get enough information in the recording and it will sound poor quality when you boost it up in post-production.
5) 32-bit float recording
32-bit float recording is rapidly becoming more popular as it essentially eliminates the need to set your gain.
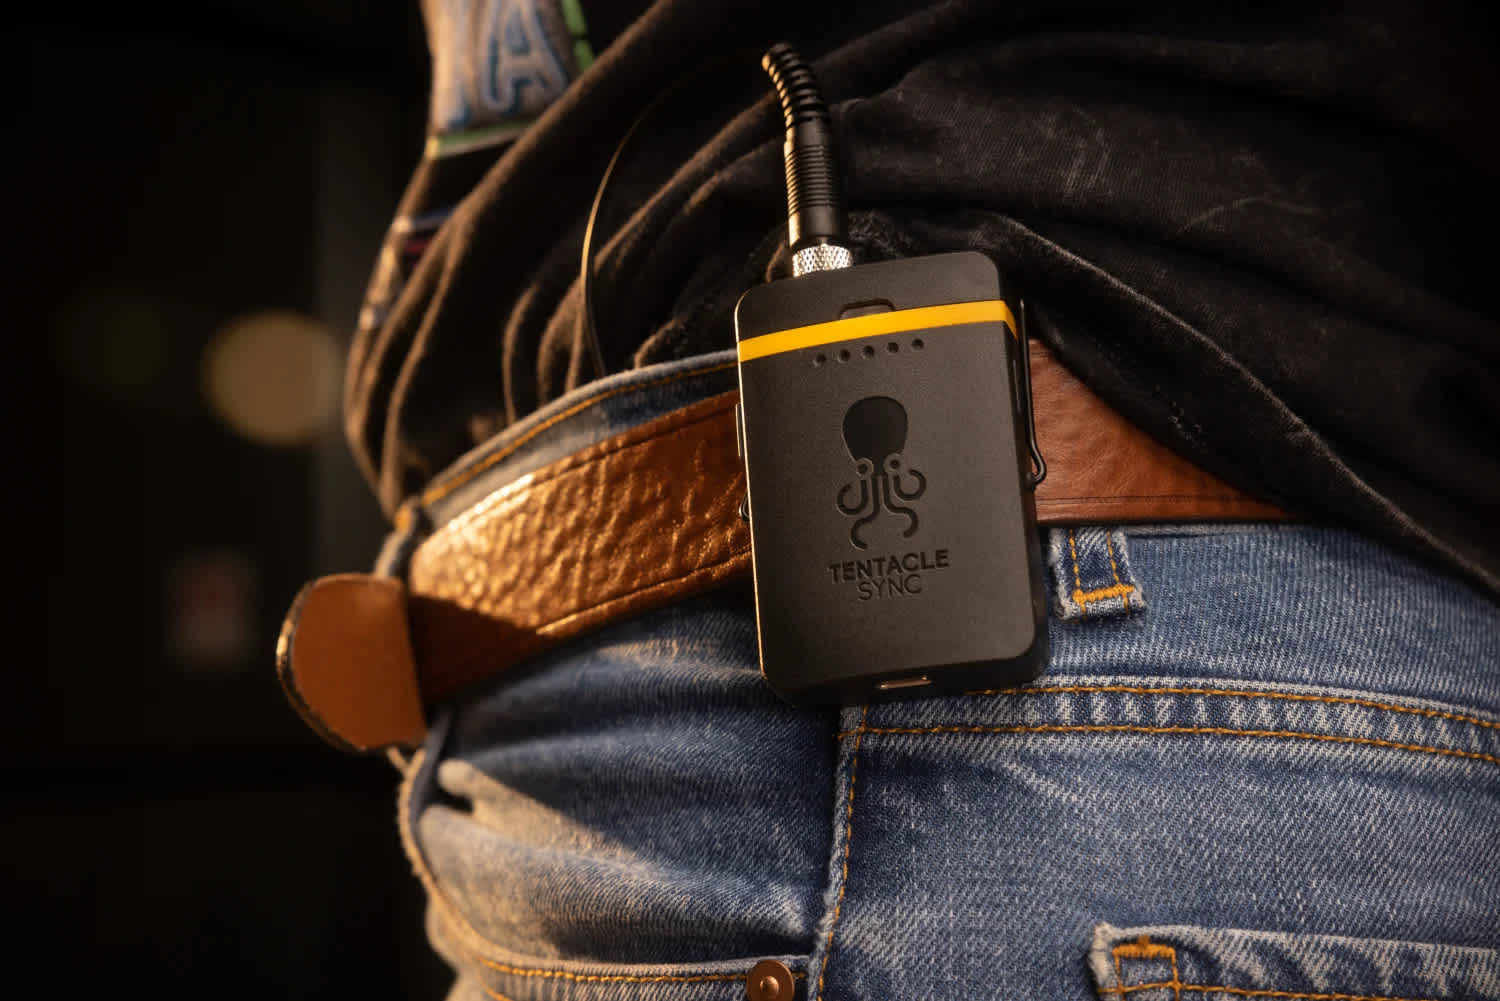
32-bit recording is simply recording your audio at a higher resolution which gives you a far greater dynamic range than traditional 16 or 24 bit recording. This gives you the ability to adjust it later in post-production without the quality suffering.
A very simplified way to think about it is by comparing it to the resolution of a camera. If you take a photo with a camera that has a low resolution, you can't enlarge the image because it hasn't captured enough information, so you end up with a pixelated mess. But if you take that same photo with a high-resolution camera then you can zoom in on that image a lot more without the overall image quality suffering.
It's the same concept for audio. 32-bit audio resolution is much higher so you can "zoom in" on your audio signal without losing detail.
32-bit float recording is particularly useful when you have limited crew or are in fast-paced situations such as documentaries where there are no second chances to recapture the audio if it isn't right the first time.
Our Tentacle Sync Track E recorders are a great option for 32-bit float lapel mic and recorder. Simply clip the lav mic onto your talent, hit record and off you go.
With these simple tips you should now be able to increase the production value of your audio recordings but if you need any further specific advice, please don't hesitate to get in touch.
