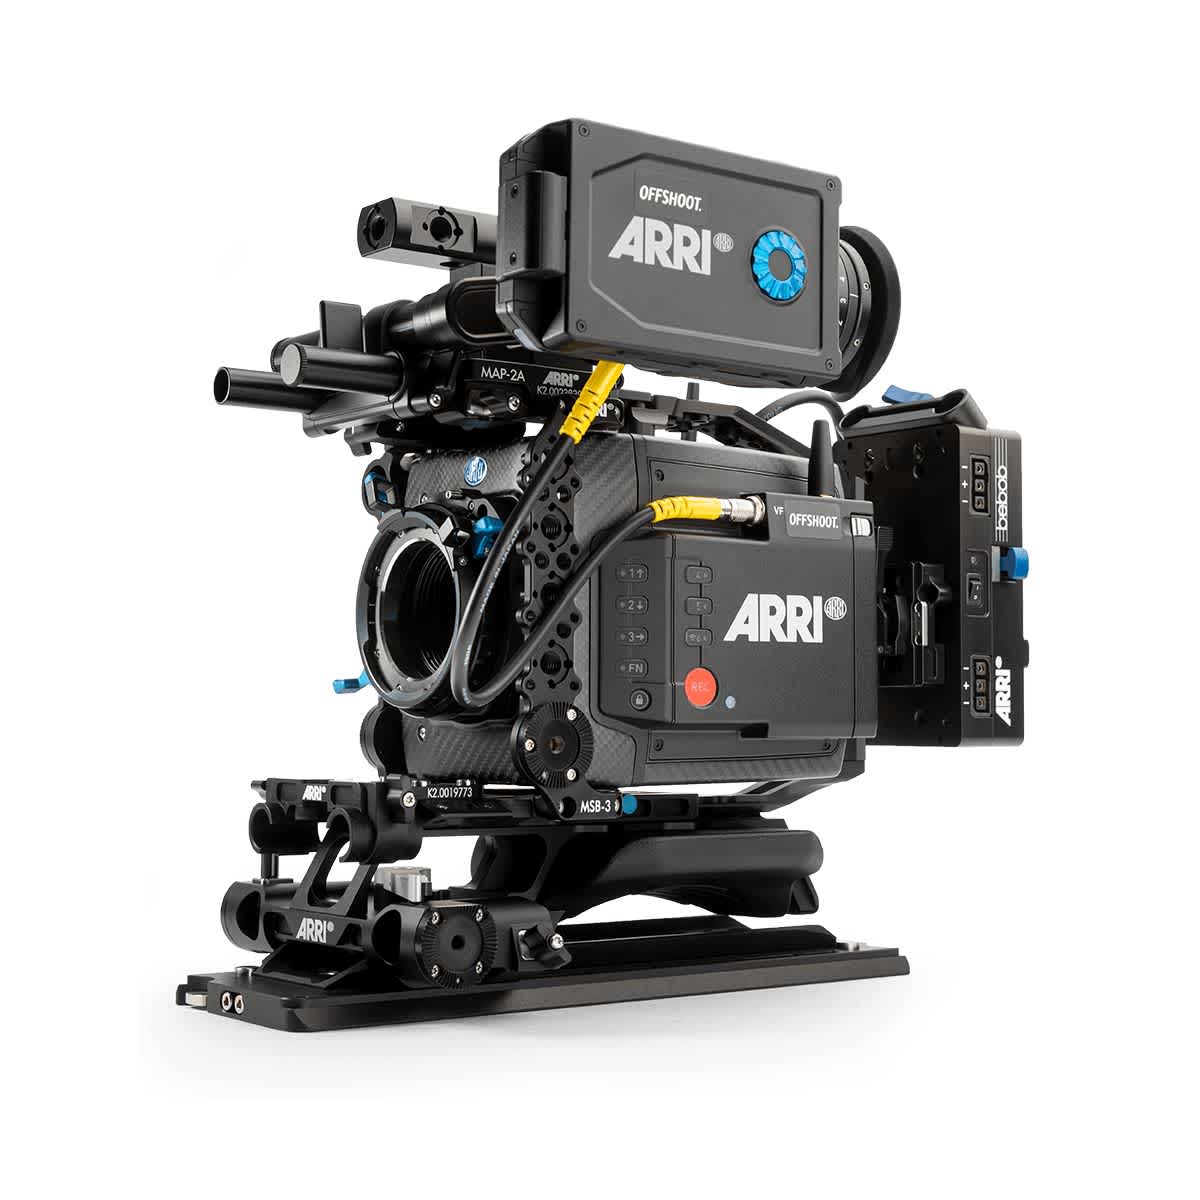
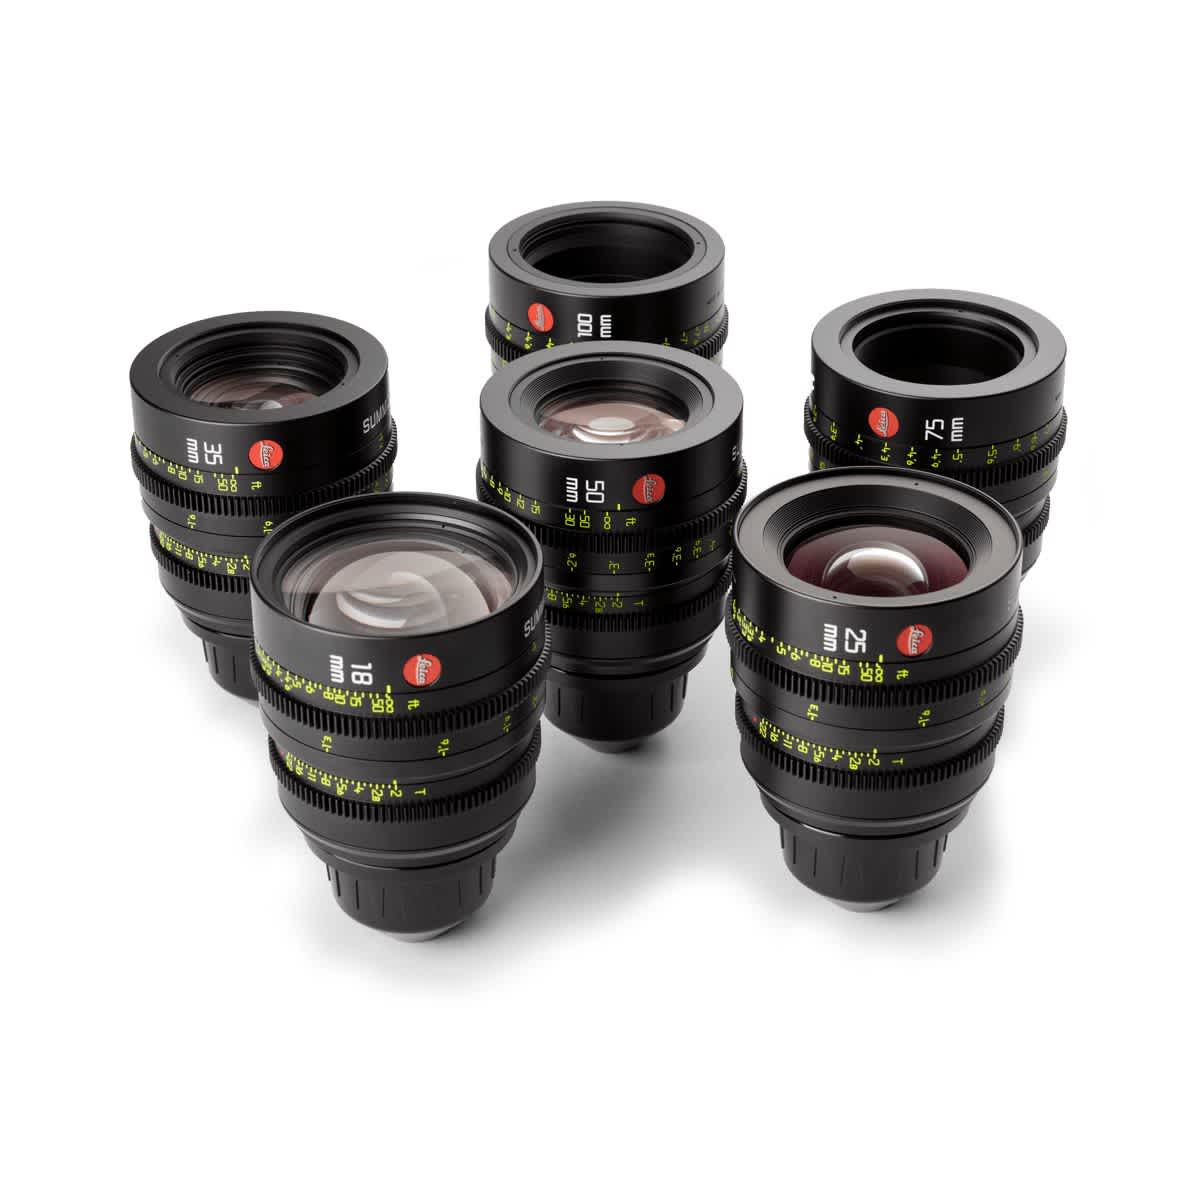
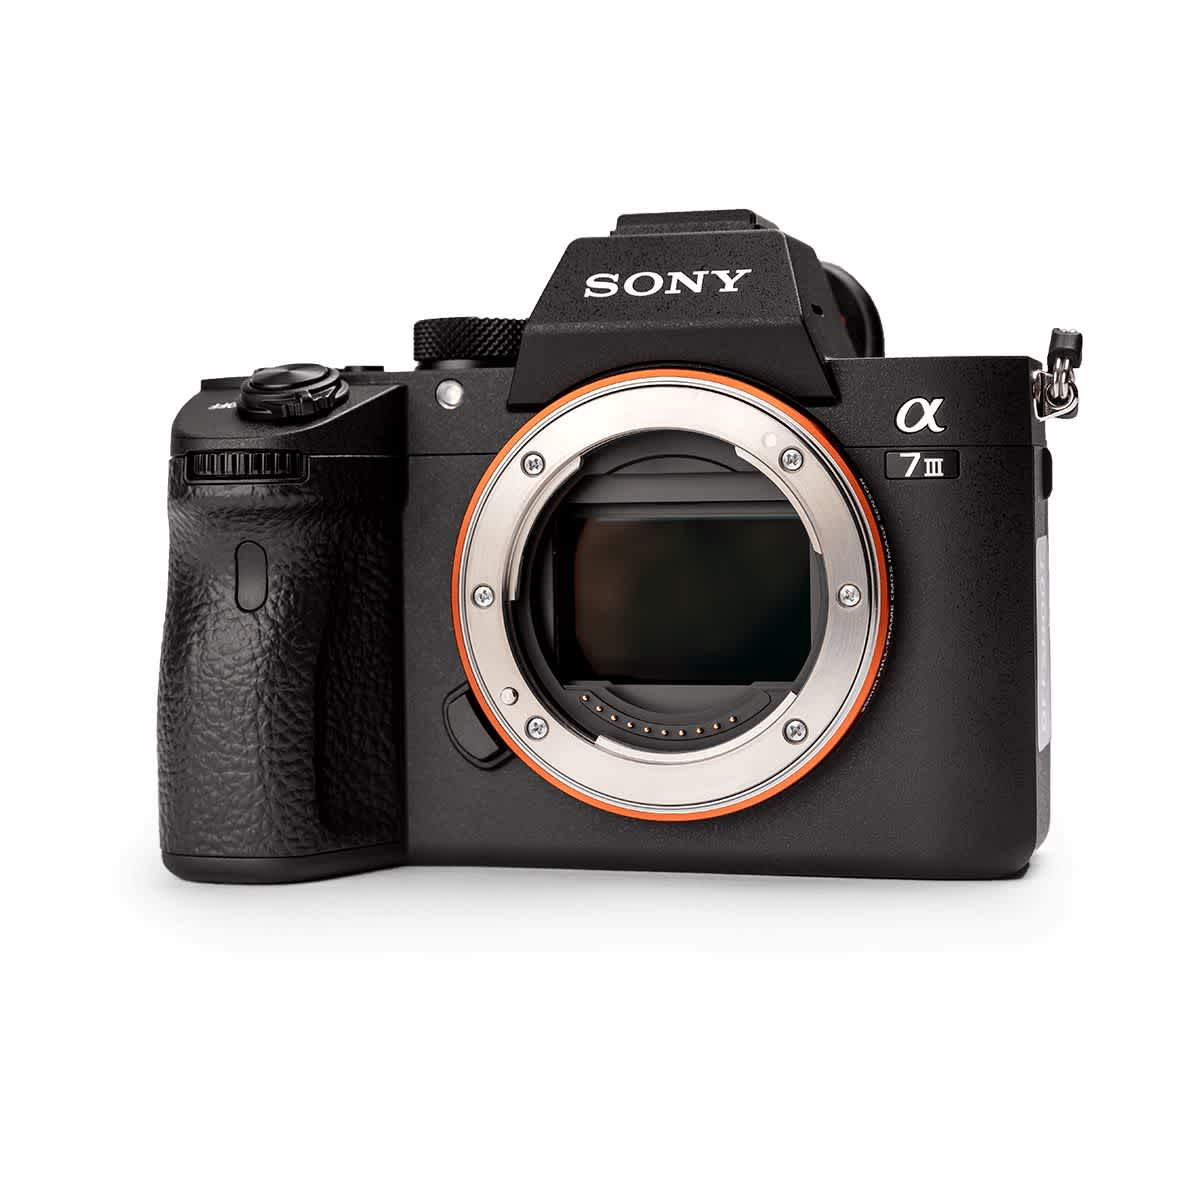
If you have been on our website you will have seen that we put a lot of care into our product photos. All of our product photos are done in-house and we prefer to shoot on a white background because it has a clean, professional look while also being versatile as the background can quite easily be removed or replaced for other uses.
Some example product photos used on the Offshoot site.
This type of photography can seem daunting, especially if you aren't familiar with strobe photography - but it is actually quite simple to achieve good results.
The Goal
The aesthetic we are looking for in these images is a nice clean look. We want an evenly lit background and a nice soft shadow around the base of the product. A lot of the products we photograph are black or darker colours so we want enough light to define detail in the products but we need to be careful of reflections which can blow the image out with bright light.
The Backdrop
The backdrop is the first thing we need to look at. We use paper backdrops and for this shoot we will be using a roll that is 1350mm wide. For smaller items I also like to set up the backdrop on a table making it easier to get the angles we need without crawling around on the floor.
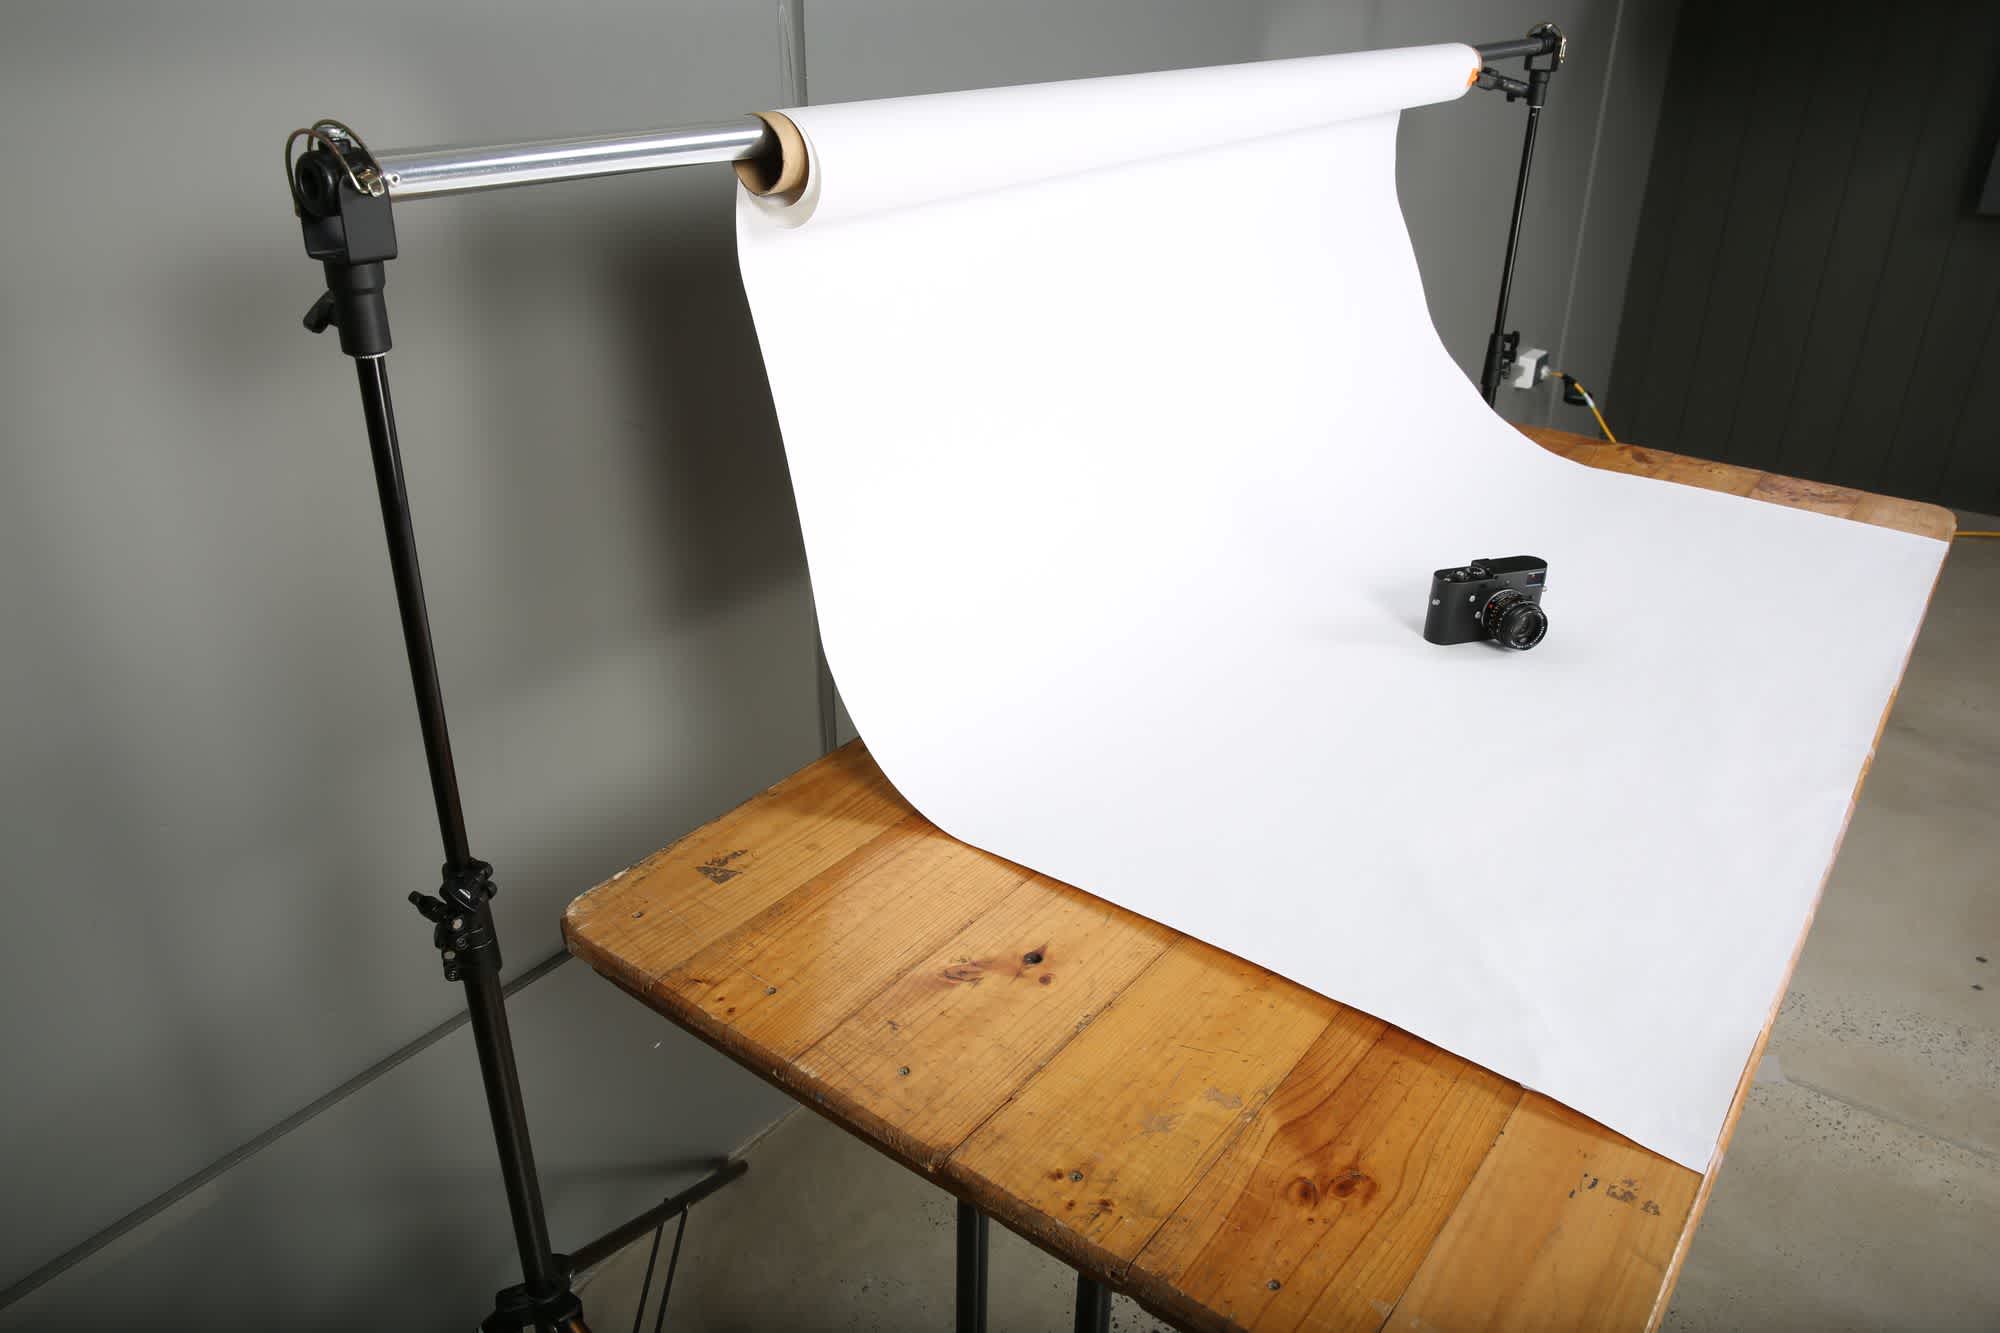
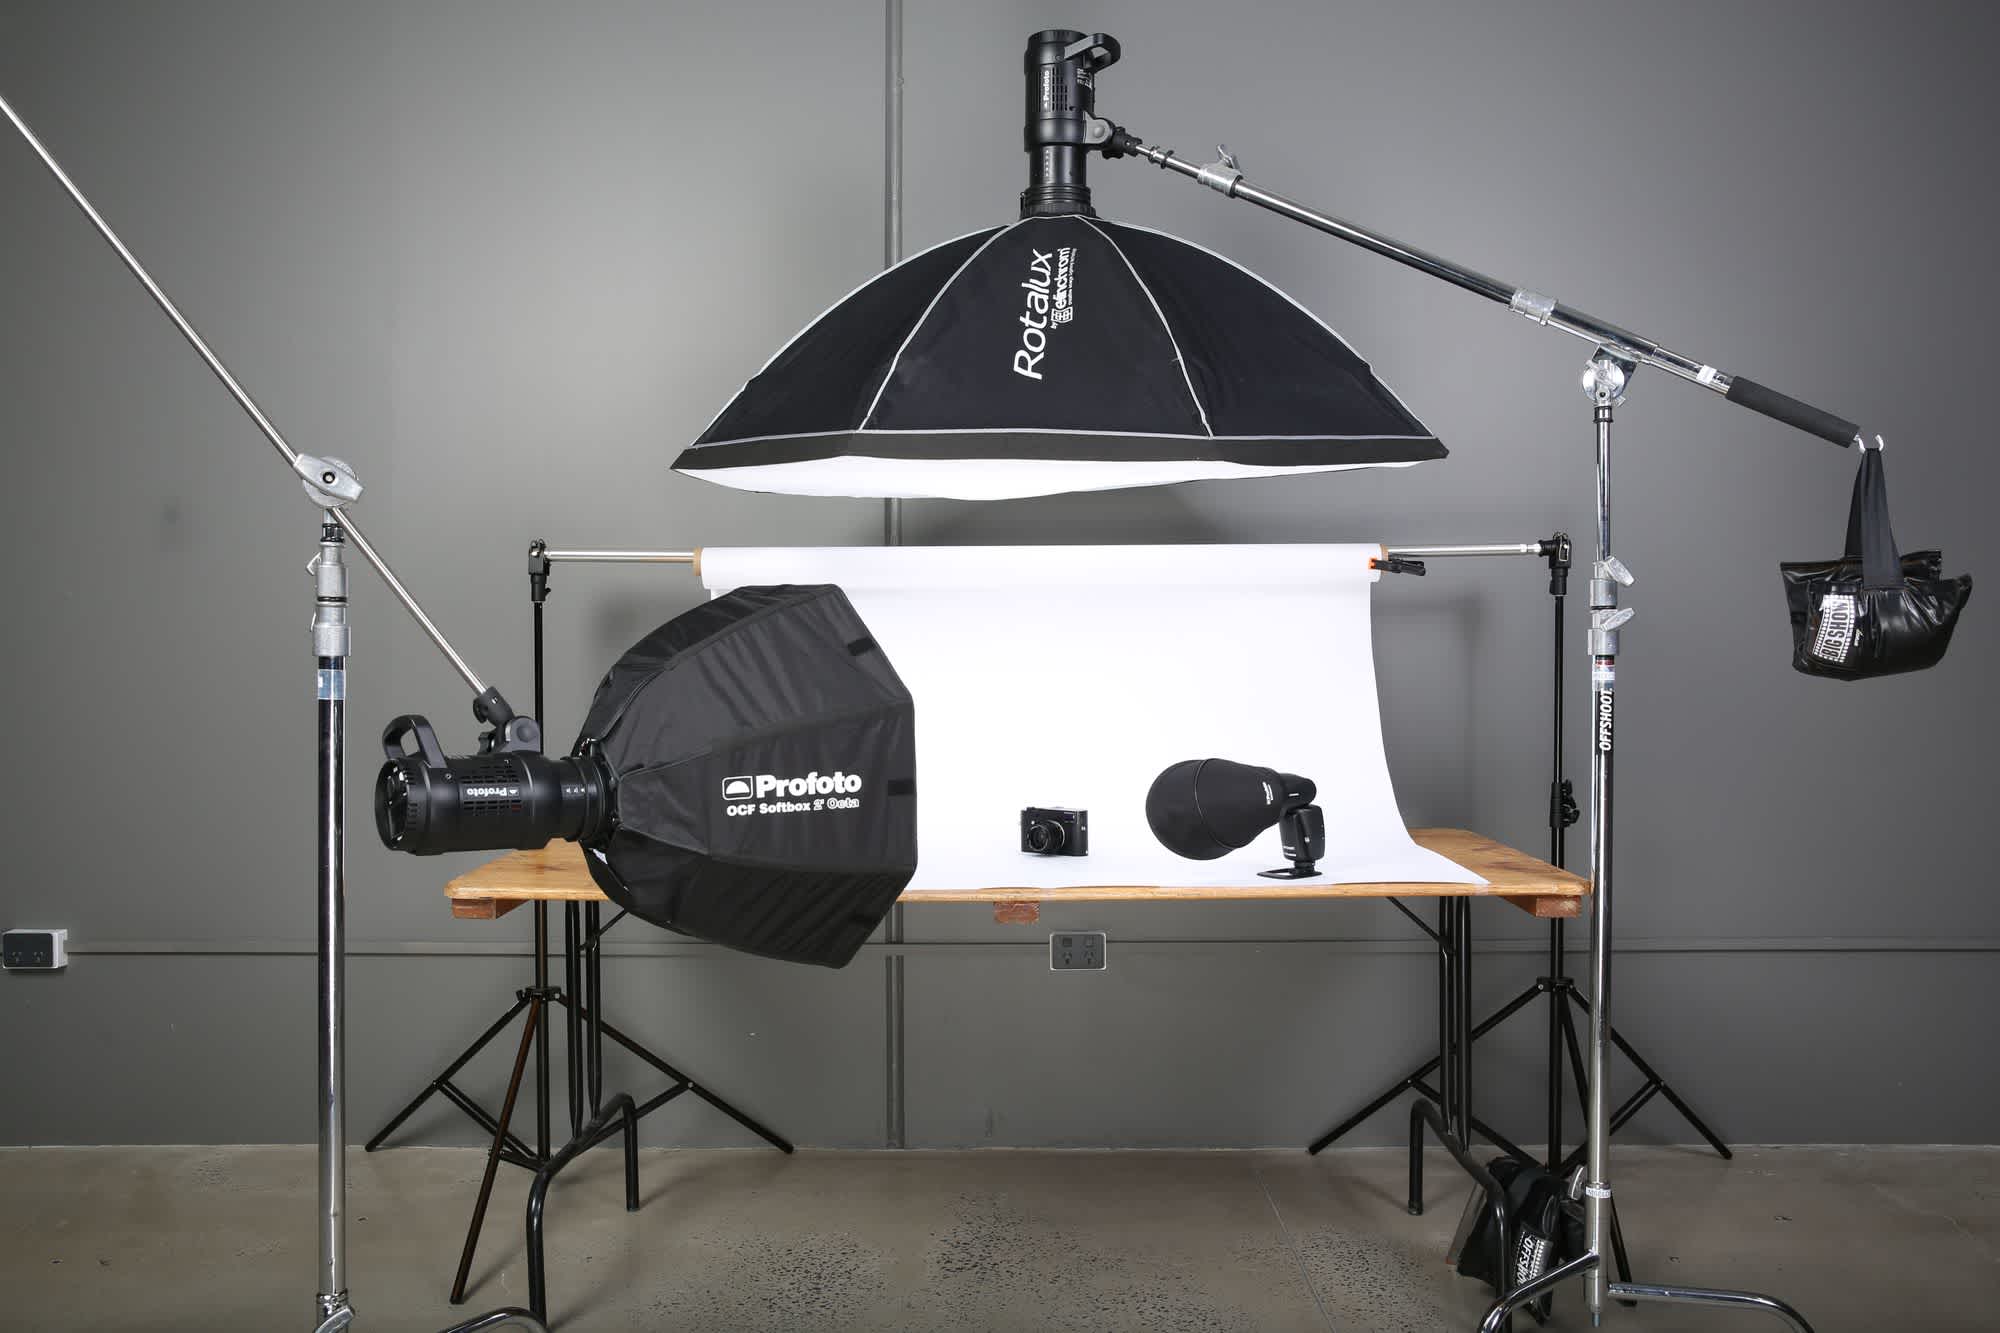
An example backdrop setup. For simplicity we have placed the product closer to the vertical section of the backdrop than you would want to for actual use - too close and you will get backdrop spill, which causes overexposure of the edges of your product.
When setting up the backdrop we want to make sure we have a nice even transition from the horizontal surface into the vertical surface. This helps us achieve the "infinity" look of the product being in a white void.
Be careful to not place your product(s) too close to the vertical section of the paper or fabric you are using. Doing so can cause unwanted backdrop spill on your products. This will be the same colour as your backdrop and, when a white backdrop is used, can cause overexposure on any reflective edges of your product.
Choosing The Right Strobes
For the bulk of our product photos I like to use the Profoto B1X Location Kit 500 AirTTL. This is a twin battery operated strobe kit and I prefer shooting with these strobes as I like the flexibility of moving the strobes without having to worry about power cables. They are also very powerful and throw out plenty of light. Of course if you will be shooting for a full day you may want to look at a mains powered option such as the Elinchrom Style RX600 which won't run out of battery on you.
Along with the 2 Profoto strobes I also like to use a small Profoto A1 which is great for creating highlights or filling specific areas with light.
Modifying Your Light
Light modifiers are crucial to achieve the soft shadow we are looking for around the base of the product. We have a range of Octobox modifiers that are great for doing this. The 2 I like to use are the Elinchrom 135cm Octabox and the Profoto 2ft Octabox. The 135cm Octabox is a very large source and is great for giving soft fill to the image while the little 2ft Octabox has a little more directionality but is still quite soft.
So let’s get into the setup.
The Product
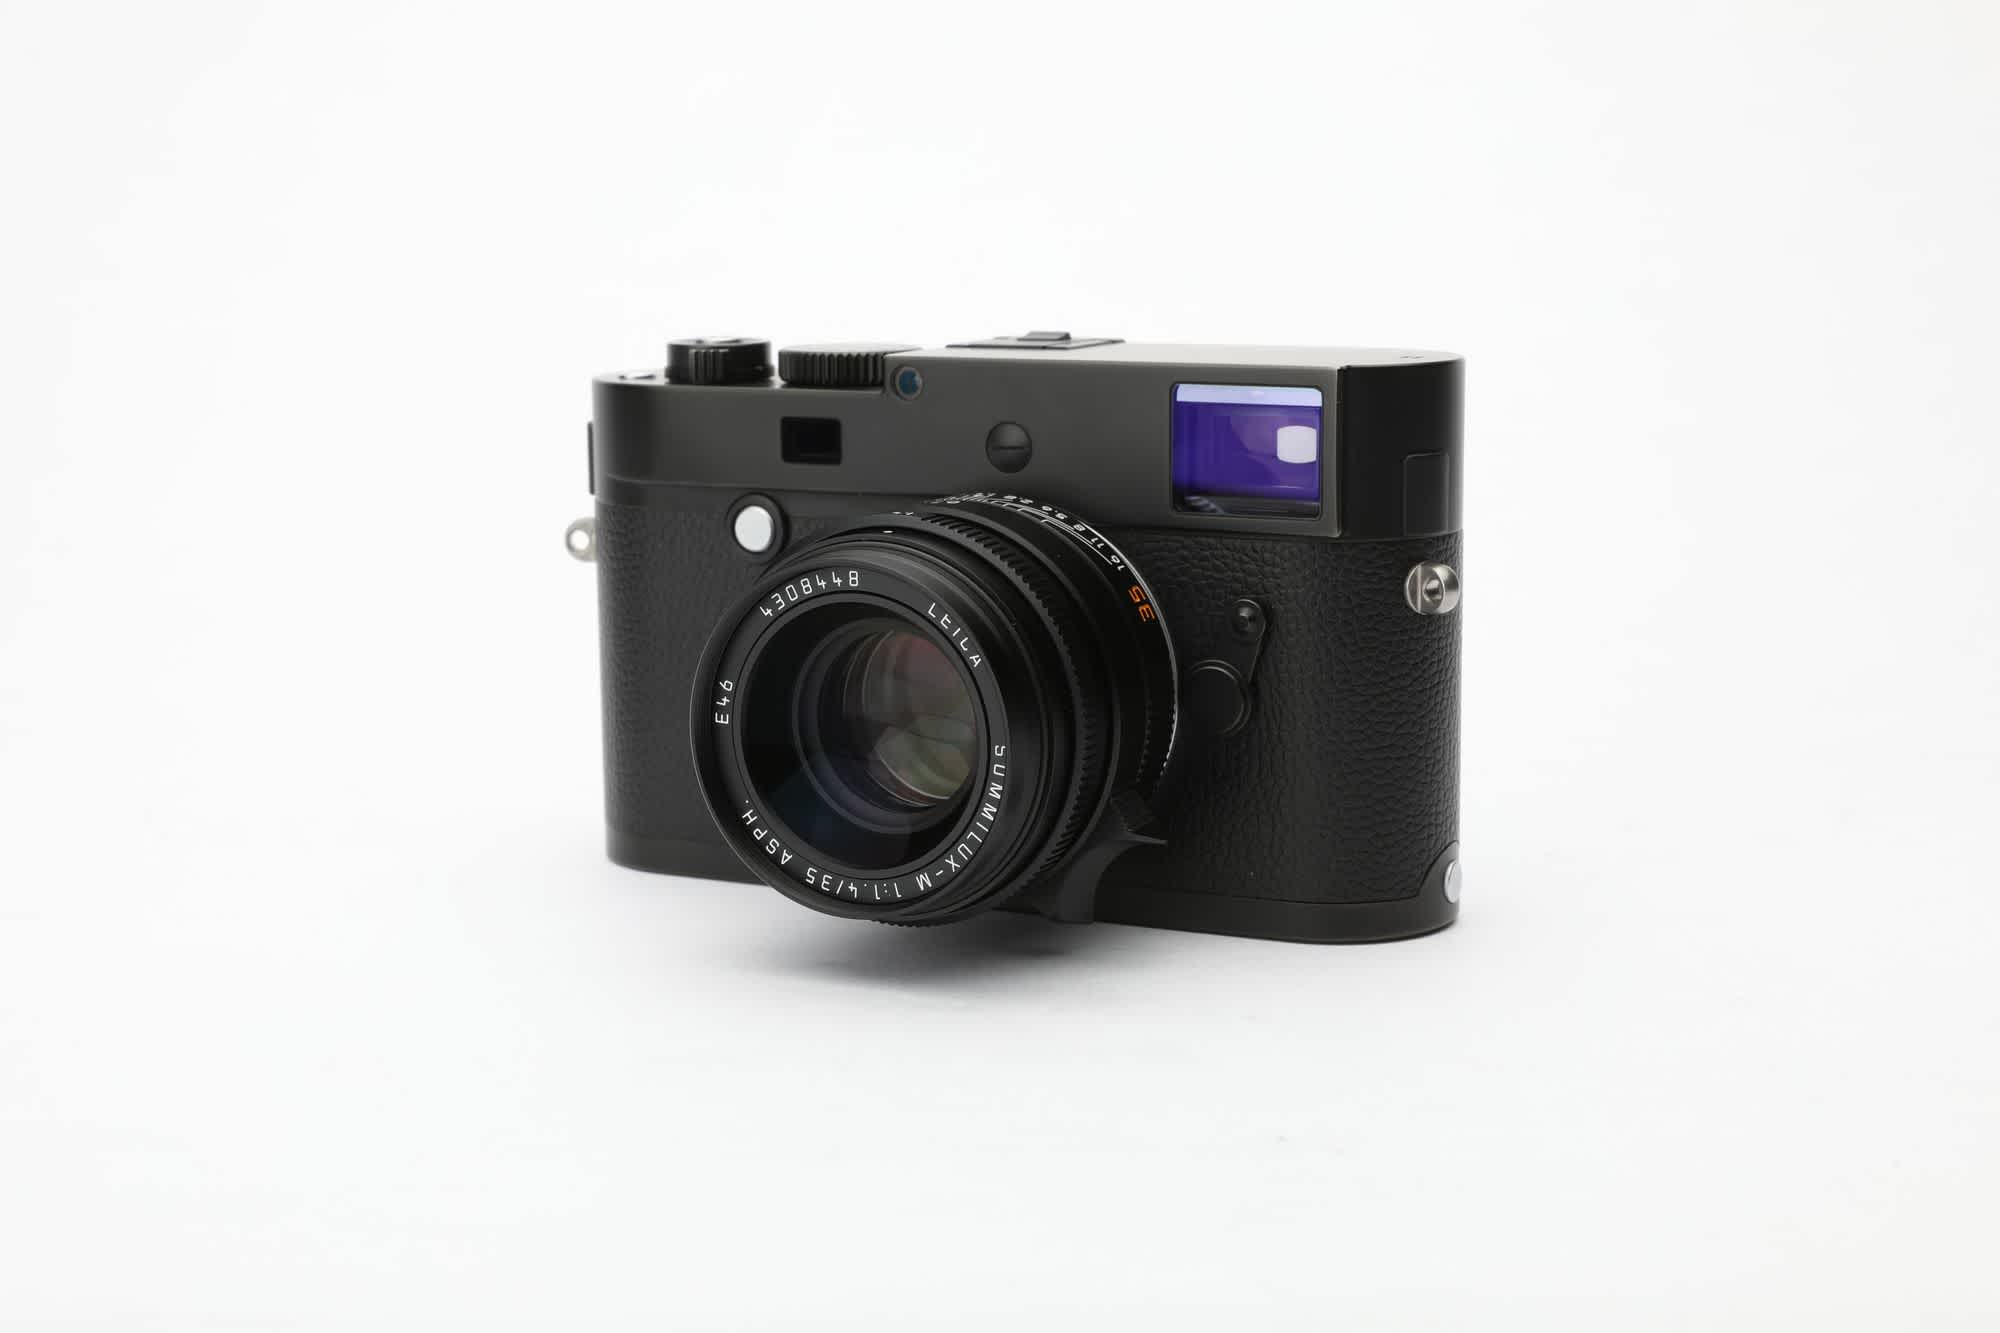
For this example we are going to be photographing a Leica M Monochrome camera with a Leica Summilux-M 35mm F1.4 lens. This is a nice simple shape with a consistent black colour but there are a few reflective points so we will need to be conscious of where we position our lights to avoid bright reflective spots.
The First Light
Let's position the product onto the backdrop and start bringing in some lights. The first light is our most important light in this shot as it will be providing the majority of the light. I am using a Profoto B1X with an Elinchrom 135cm Octobox diffuser and as I want a soft shadow around the base of the product I want to position this light directly above. The closer you get to your subject the softer the shadows will be so find a position that gives you the look you are trying to achieve.
This light will be providing the majority of light for the background so we need to ensure that it is high enough to provide good even coverage of light on the white background.
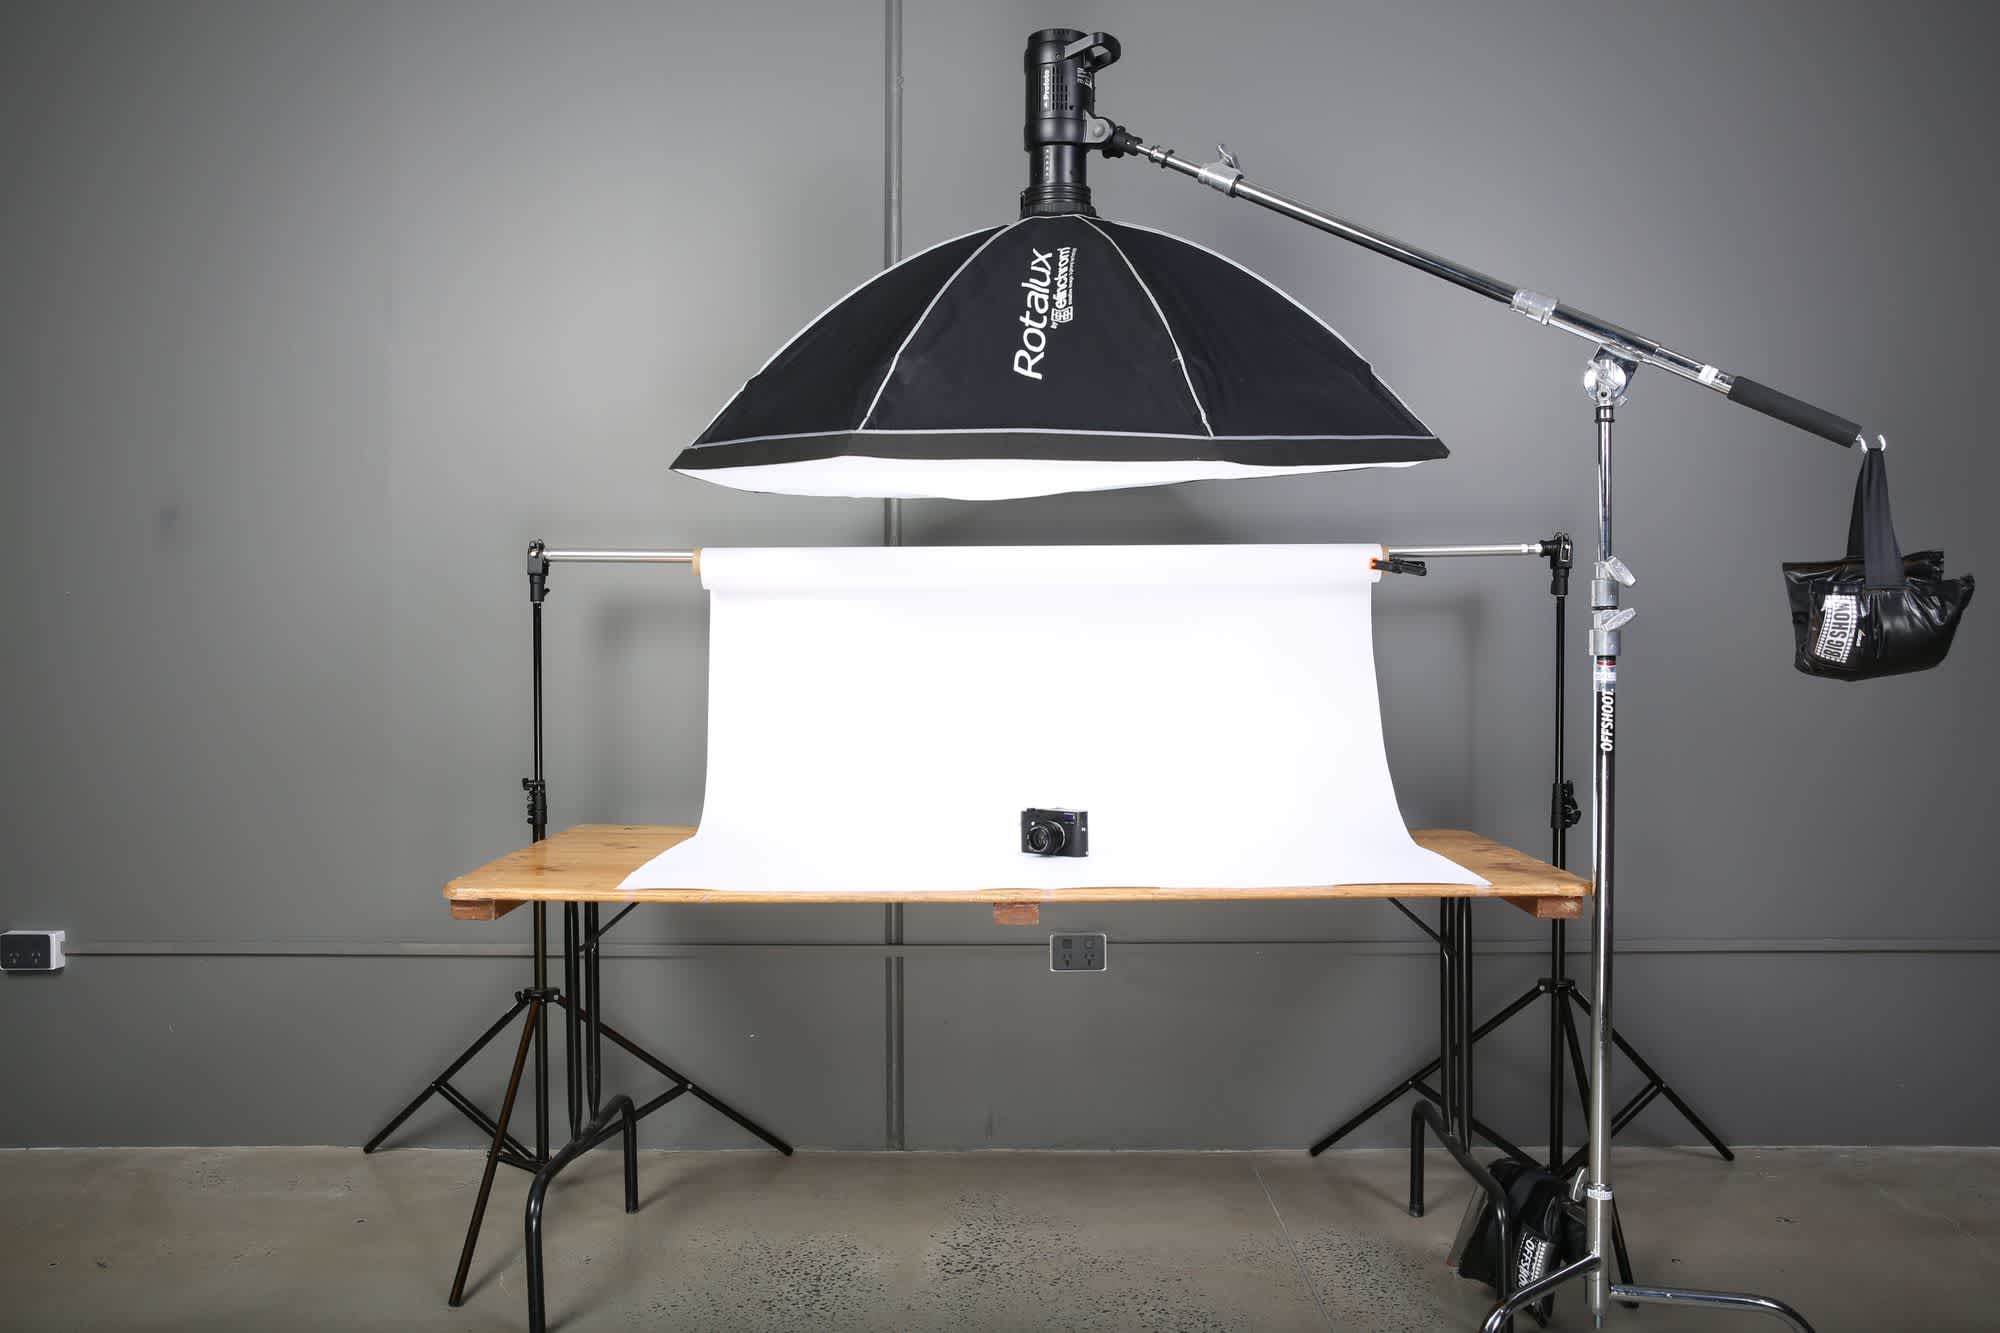
The setup with one overhead strobe. We are using the 135cm octa modifier here to wrap the product in light from above.
Let’s take a look at the result from our first light.
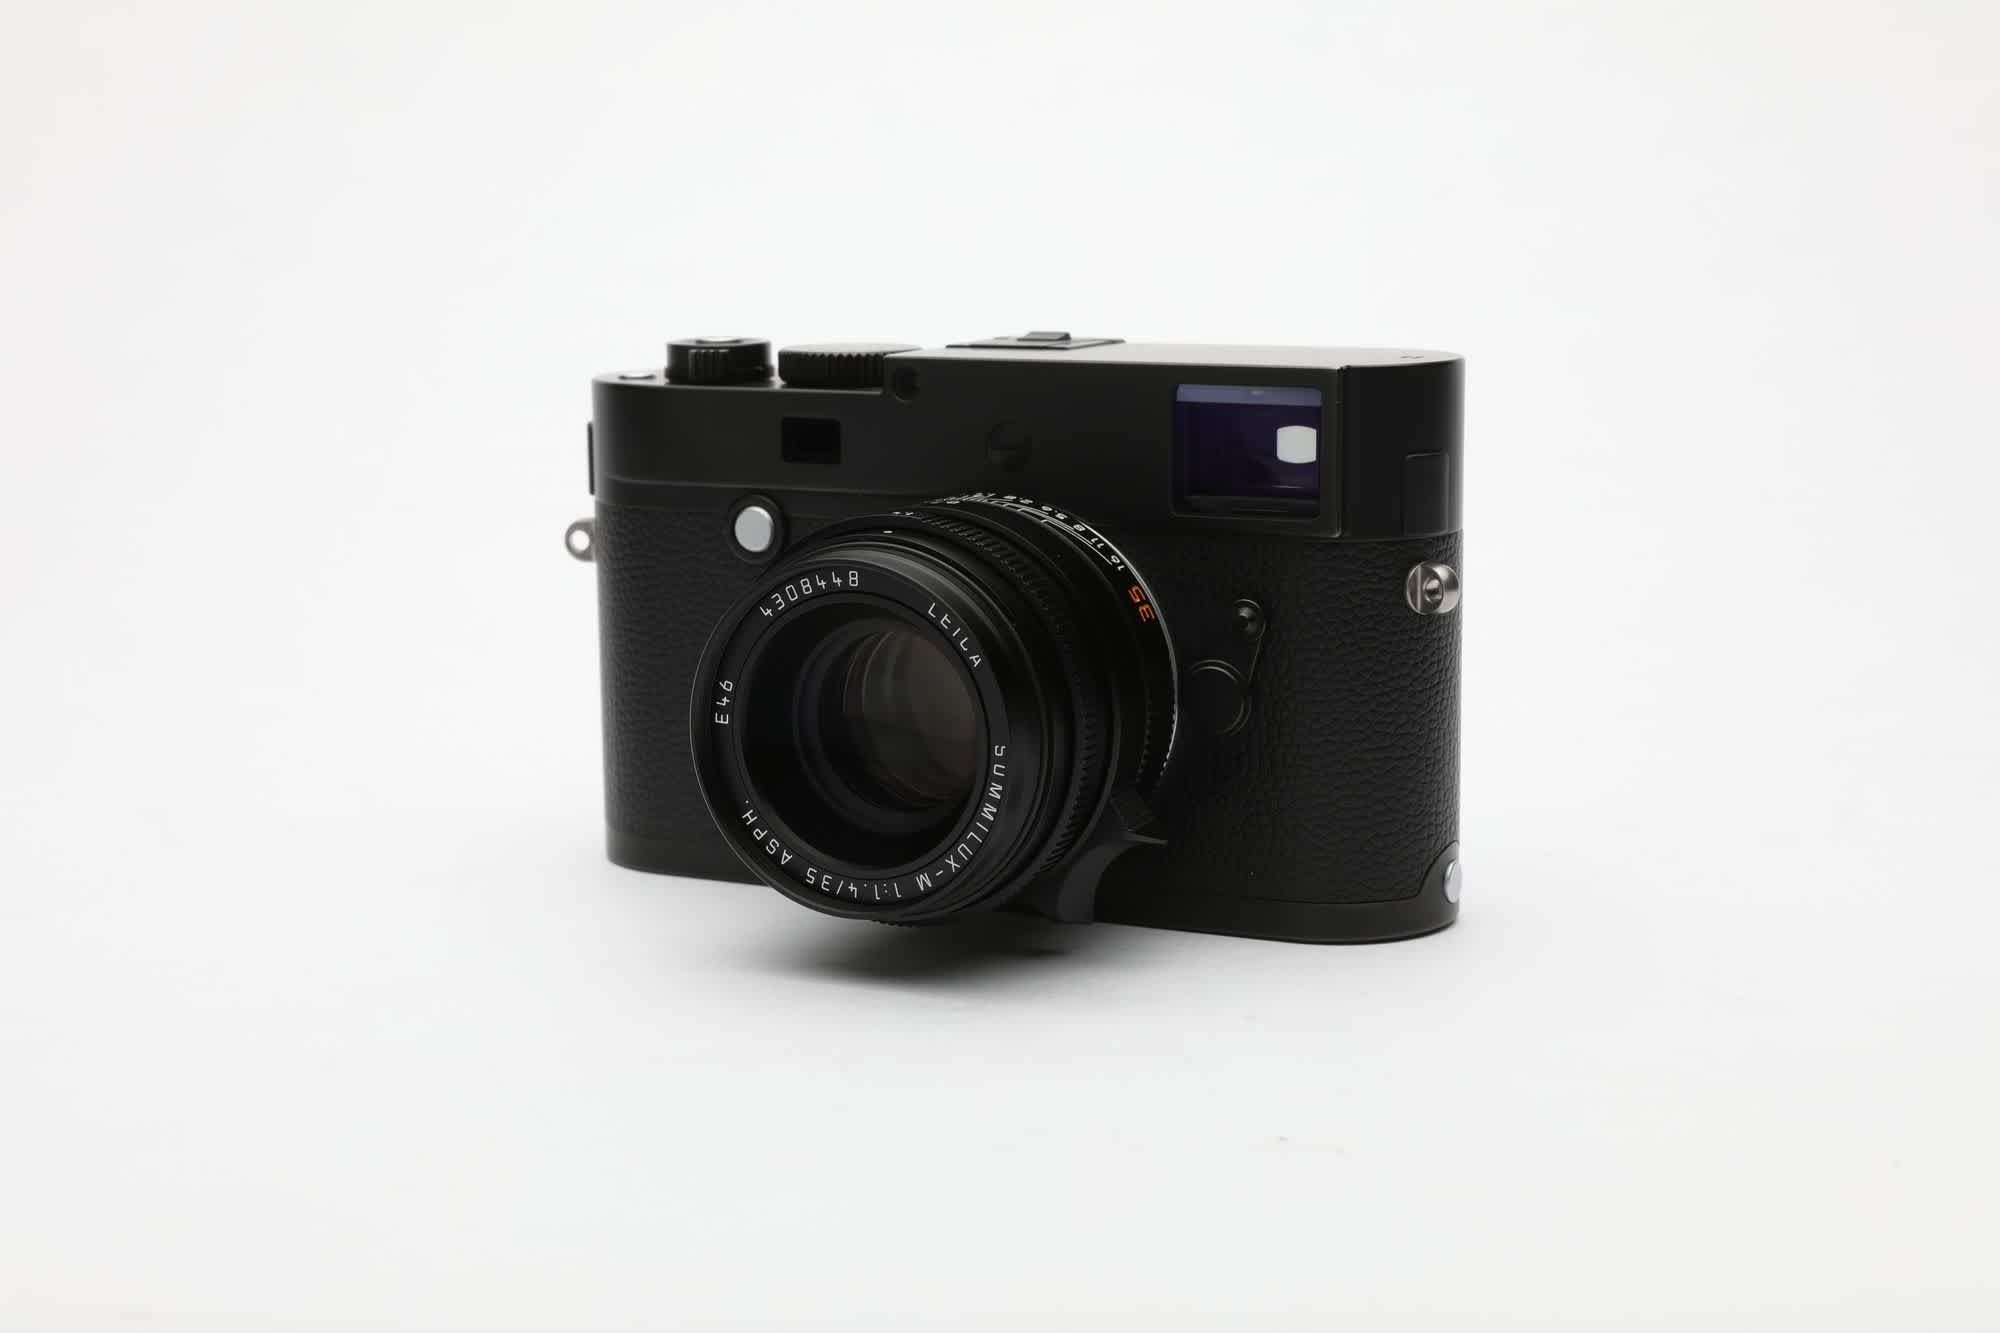
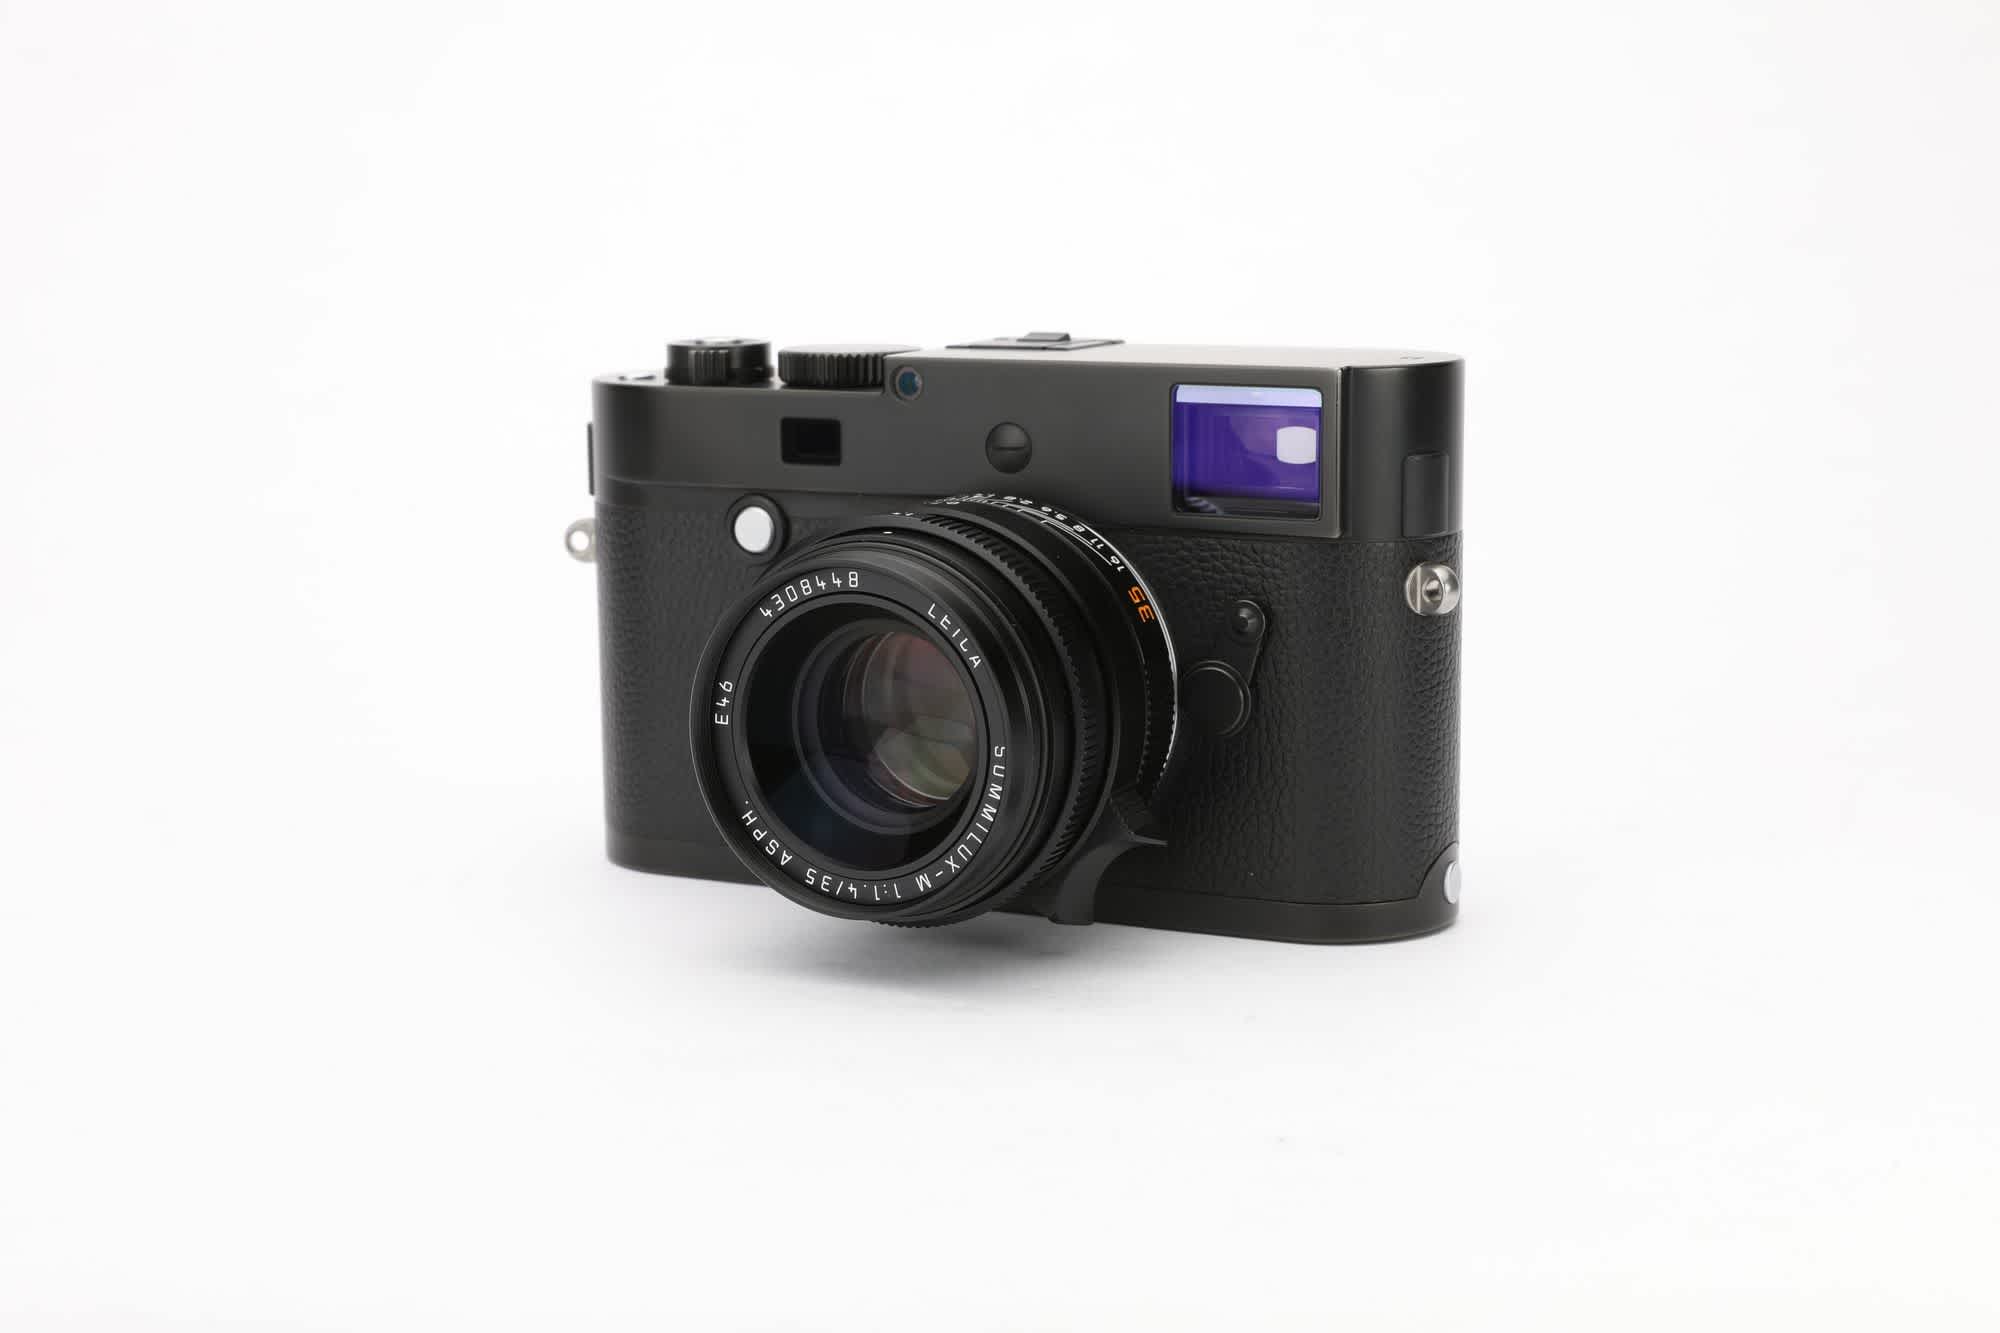
The result using a single overhead light. This image has not been modified in post.
This isn't a bad image to begin with. The front of the camera gets a bit lost and its hard to see detail and the shadow underneath the lens is a bit too defined. We can definitely improve on it so let’s keep tinkering.
The Second Light
The position of the camera in this case is facing at a slight angle to the left of the frame. We want to fill in the front of the camera with some light to help some of the details pop so we are going to use our second Profoto B1X with the 2ft Octabox and we are going to place this light off to the left to provide light front on to the product.
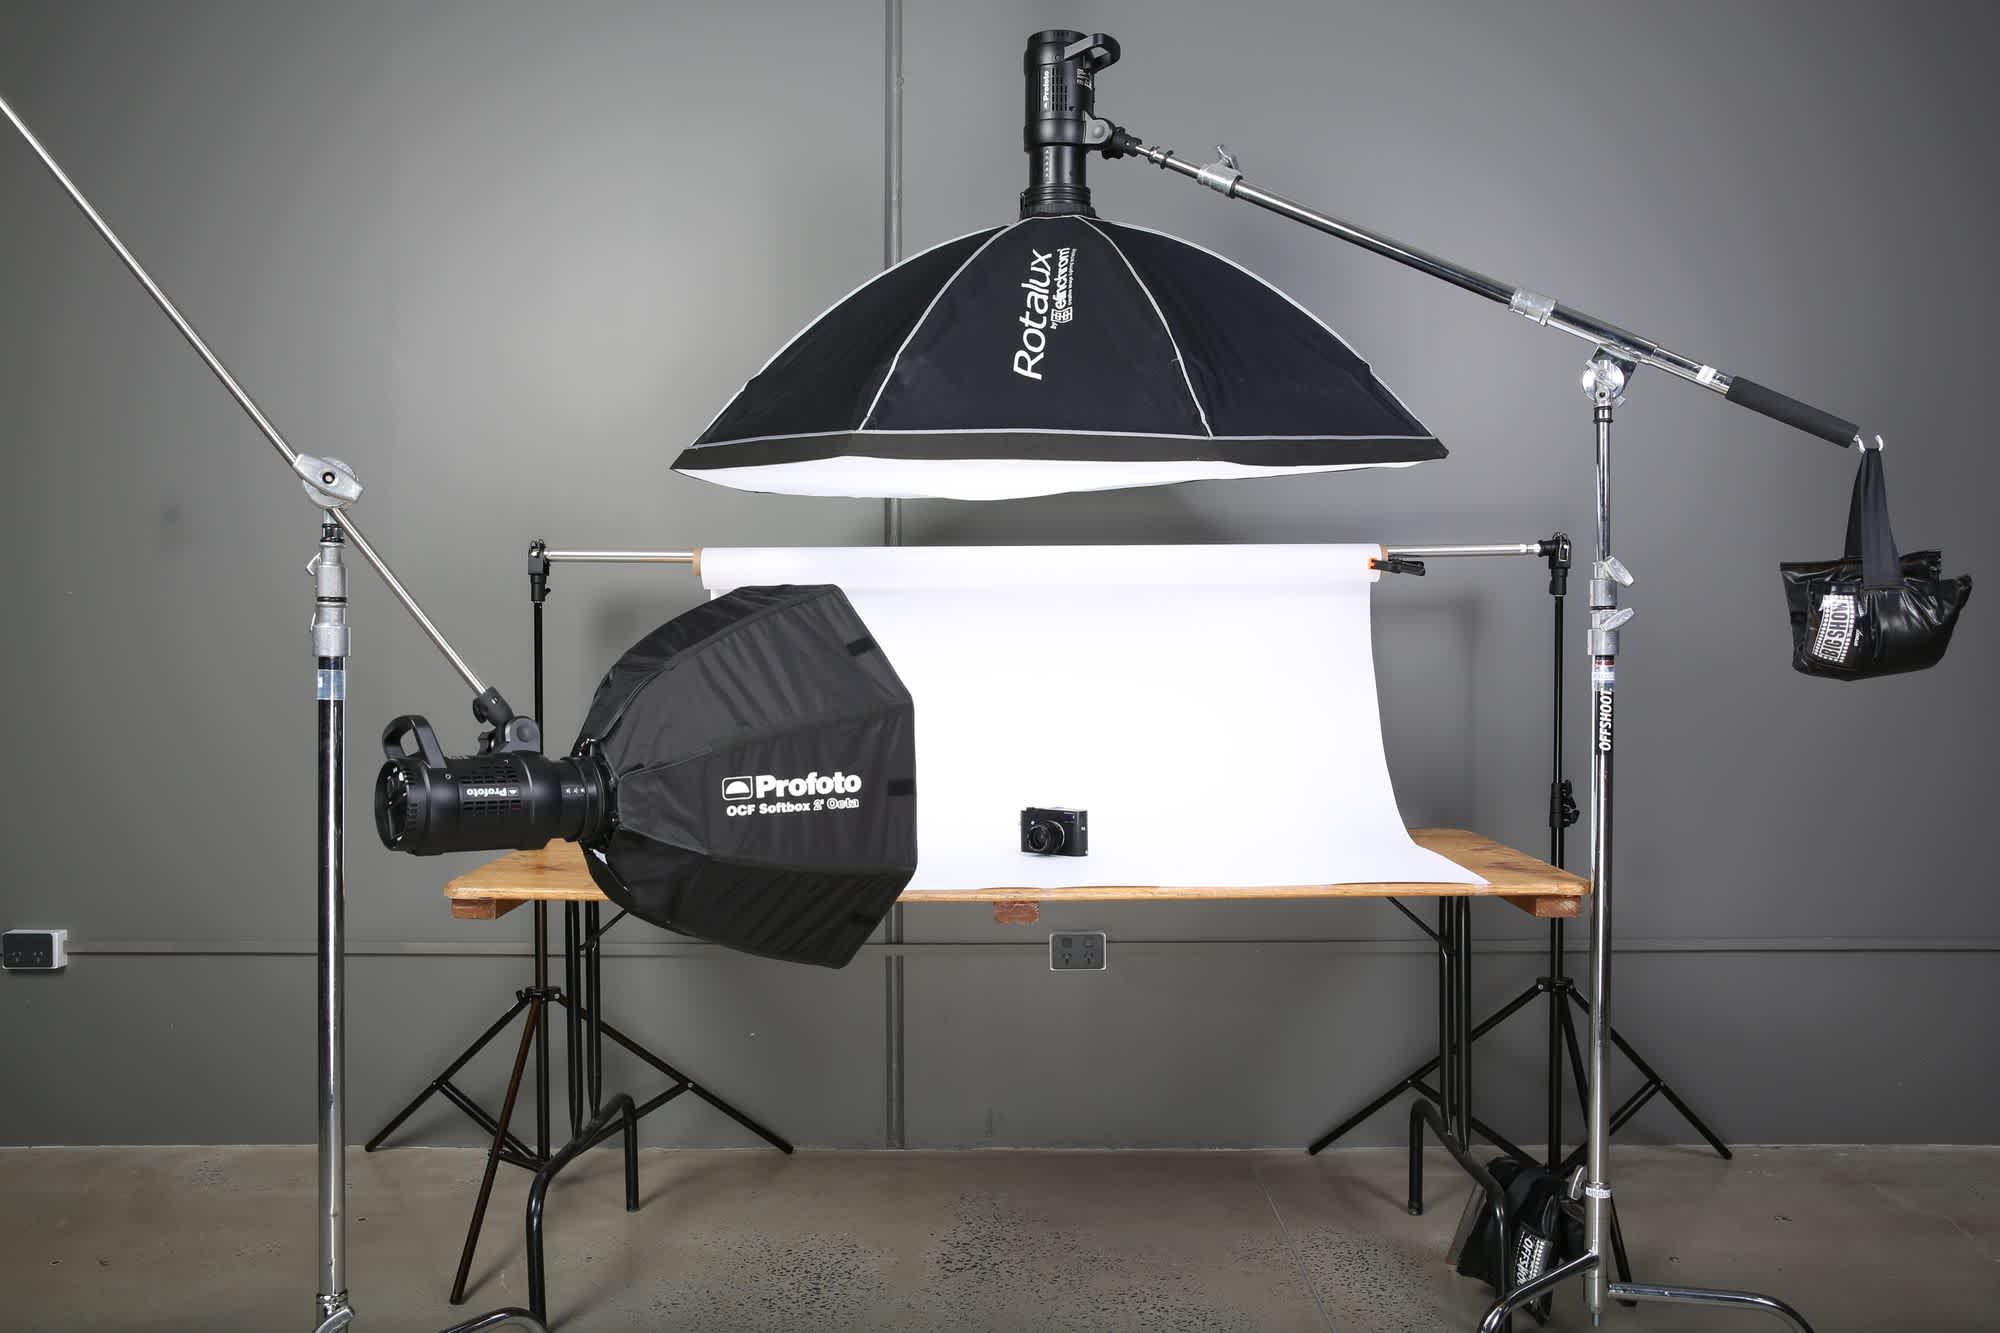
Adding the second light to our setup.
Let’s take a look at what we have now with 2 lights in our shot:
The resultfrom adding the second light. Again, this image is directly from the camera.
This is looking much better, you will notice that the way the camera and 2nd strobe have been positioned that we aren't getting any excessive highlights blowing out the reflective areas on the lens front element and the camera viewfinder. The shadow under the front of the lens has been softened so it isn't so defined and we are still getting a very slight shadow around the base of the camera thanks to it having a slightly rounded over edge.
The Third Light
Our last strobe is the Profoto A1 and we are going to use it with a small clip on diffuser hood. This is going to be an edge light coming from frame right and illuminating the right edge of the camera. This light is going to be subtle and will help define the rounded edge of the camera and provide some extra dimensionality to the shot.
Adding a third light - in this case a much smaller edge source to provide some additional definition of one side of the product.
So, let's take a look at the final result! 📸
The result directly from the camera after adding the third strobe.
Our last change was subtle but it's the nice little cherry on top to make our image really stand out. You can see its effects on the right hand side of the cameras viewfinder. It's soft highlight on the front edge of the curve pulls out that last little bit of detail on the camera and ties it all together. The image looks well balanced, the dark areas of the body are well illuminated to show excellent detail and the overall image has great contrast which highlights all the details we want to see.
Here are the results next to one another to help you see the differences:
The results from the three different lighting setups - from one light on the left through to three lights on the right.
Camera Settings
To capture this image I used a Canon EOS 5D Mark IV with a Canon EF 24-70mm f/2.8L II USM Lens. Below are the camera setting used for this shoot.
| Focal Length | Shutter Speed | Aperture | ISO |
| 70mm | 1/200s | f/16 | 100 |
Strobe Settings
To give you an indication of how the strobes were configured, I've included the settings below. Note that the absolute values aren't so important as the exposure is impacted by the ISO, shutter speed and aperture you choose to use. The relative ourput of each strobe is of more interest.
| Overhead | Front | Side |
| 8.5 (187.5Ws) | 6.0 (31.8Ws) | 6.0 (31.8Ws) |
Setup Timelapse
If you're interested in a behind the scenes look at the setup used to take these product photos, take a look at the timelapse below.
Hopefully this helped give you a better understanding of some of the basics of using strobe lights. There are many more aspects to product photography and the approach you take largely depends on how much effort and expense you want to put into the results. As this article has hopefully shown, if you are short on time and budget, you can get professional results for standard e-commerce style photography pretty quickly.
We didn't cover editing your photos at all, and with today's cameras and their RAW formats you will be able to do a lot to enhance your images in post - lifting shadows where the image is too dark and pulling back areas that might be overexposed etc.
If you have any questions about product photography, please feel free to get in touch with us.